[新服务] 装应用一样轻松自建服务 YunoHost 使用指南
date
Nov 17, 2022
slug
newservice-yunohost-cloud-services
status
Published
summary
新服务-
tags
service
type
Post
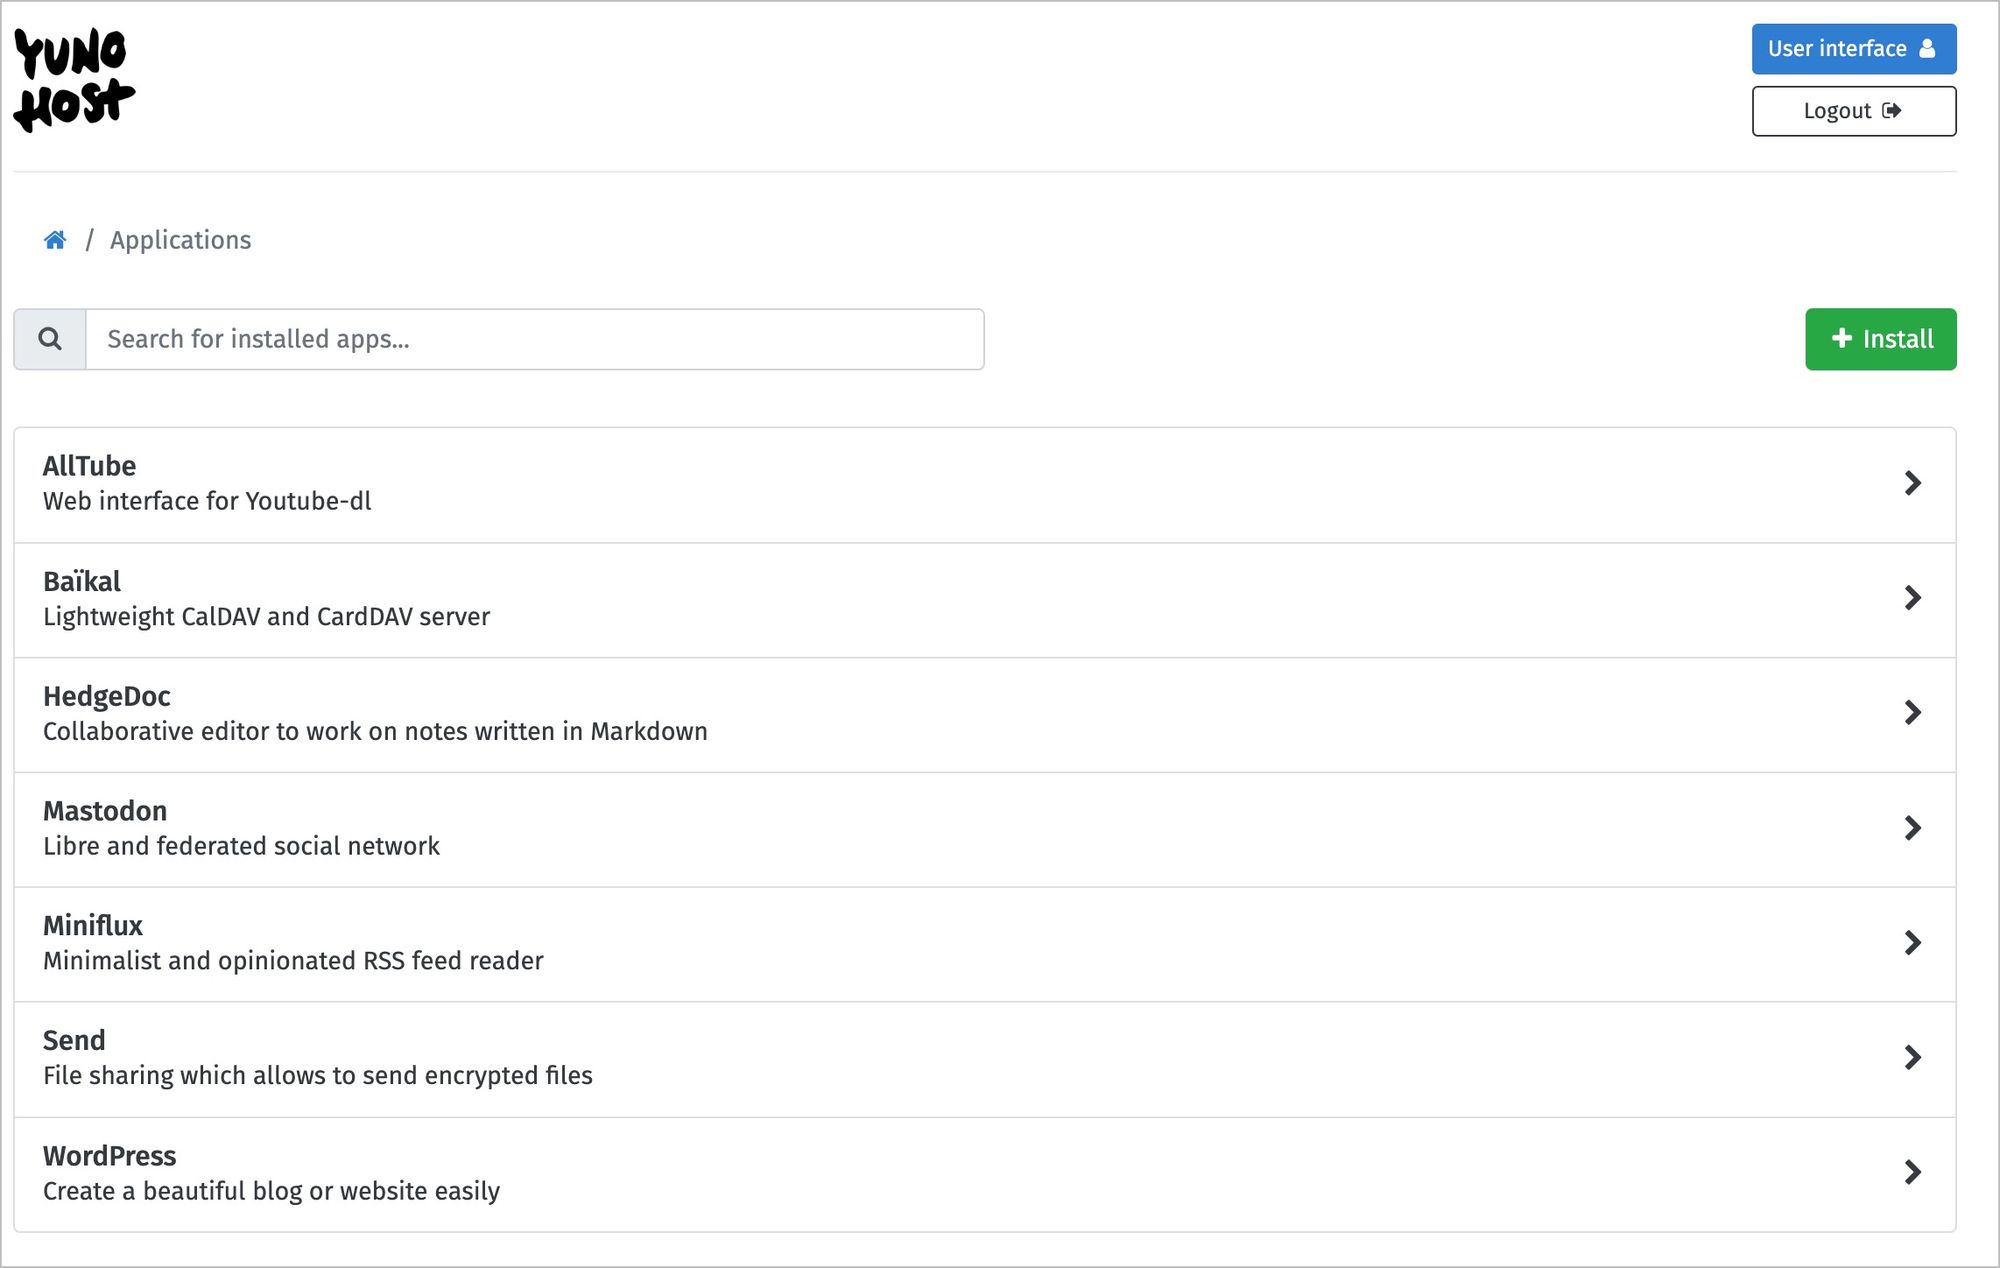
Summary步骤新机器 - 安装Debian 11之后打开 https://ip/配置域名按这个说法,这几个红框里的最重要;另外结尾的 . 很重要 https://yunohost.org/en/dns_config?q=%2Fdns_config安装Mastodonbecause *.domain.tld was already set up; just get a new letsencrypt ssl certificate SSH - 安装之后,只能 ssh admin@ip-or-domain 密码就是管理密码 命令行访问备份已经安装的服务
Summary
步骤
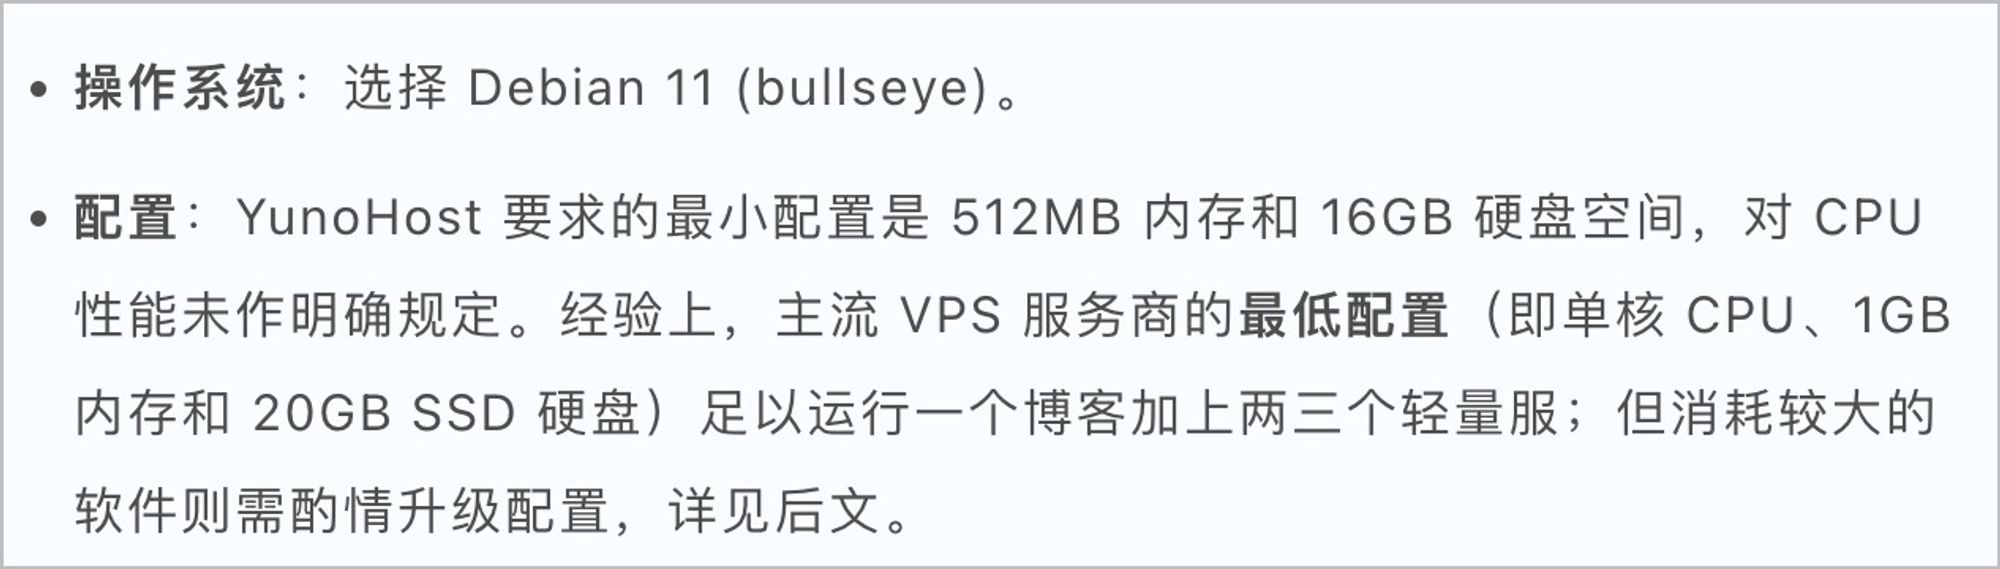
新机器 - 安装Debian 11之后
apt update -y && apt upgrade -y
apt install -y curl zip screen
screen -d -R yuno

curl https://install.yunohost.org | bash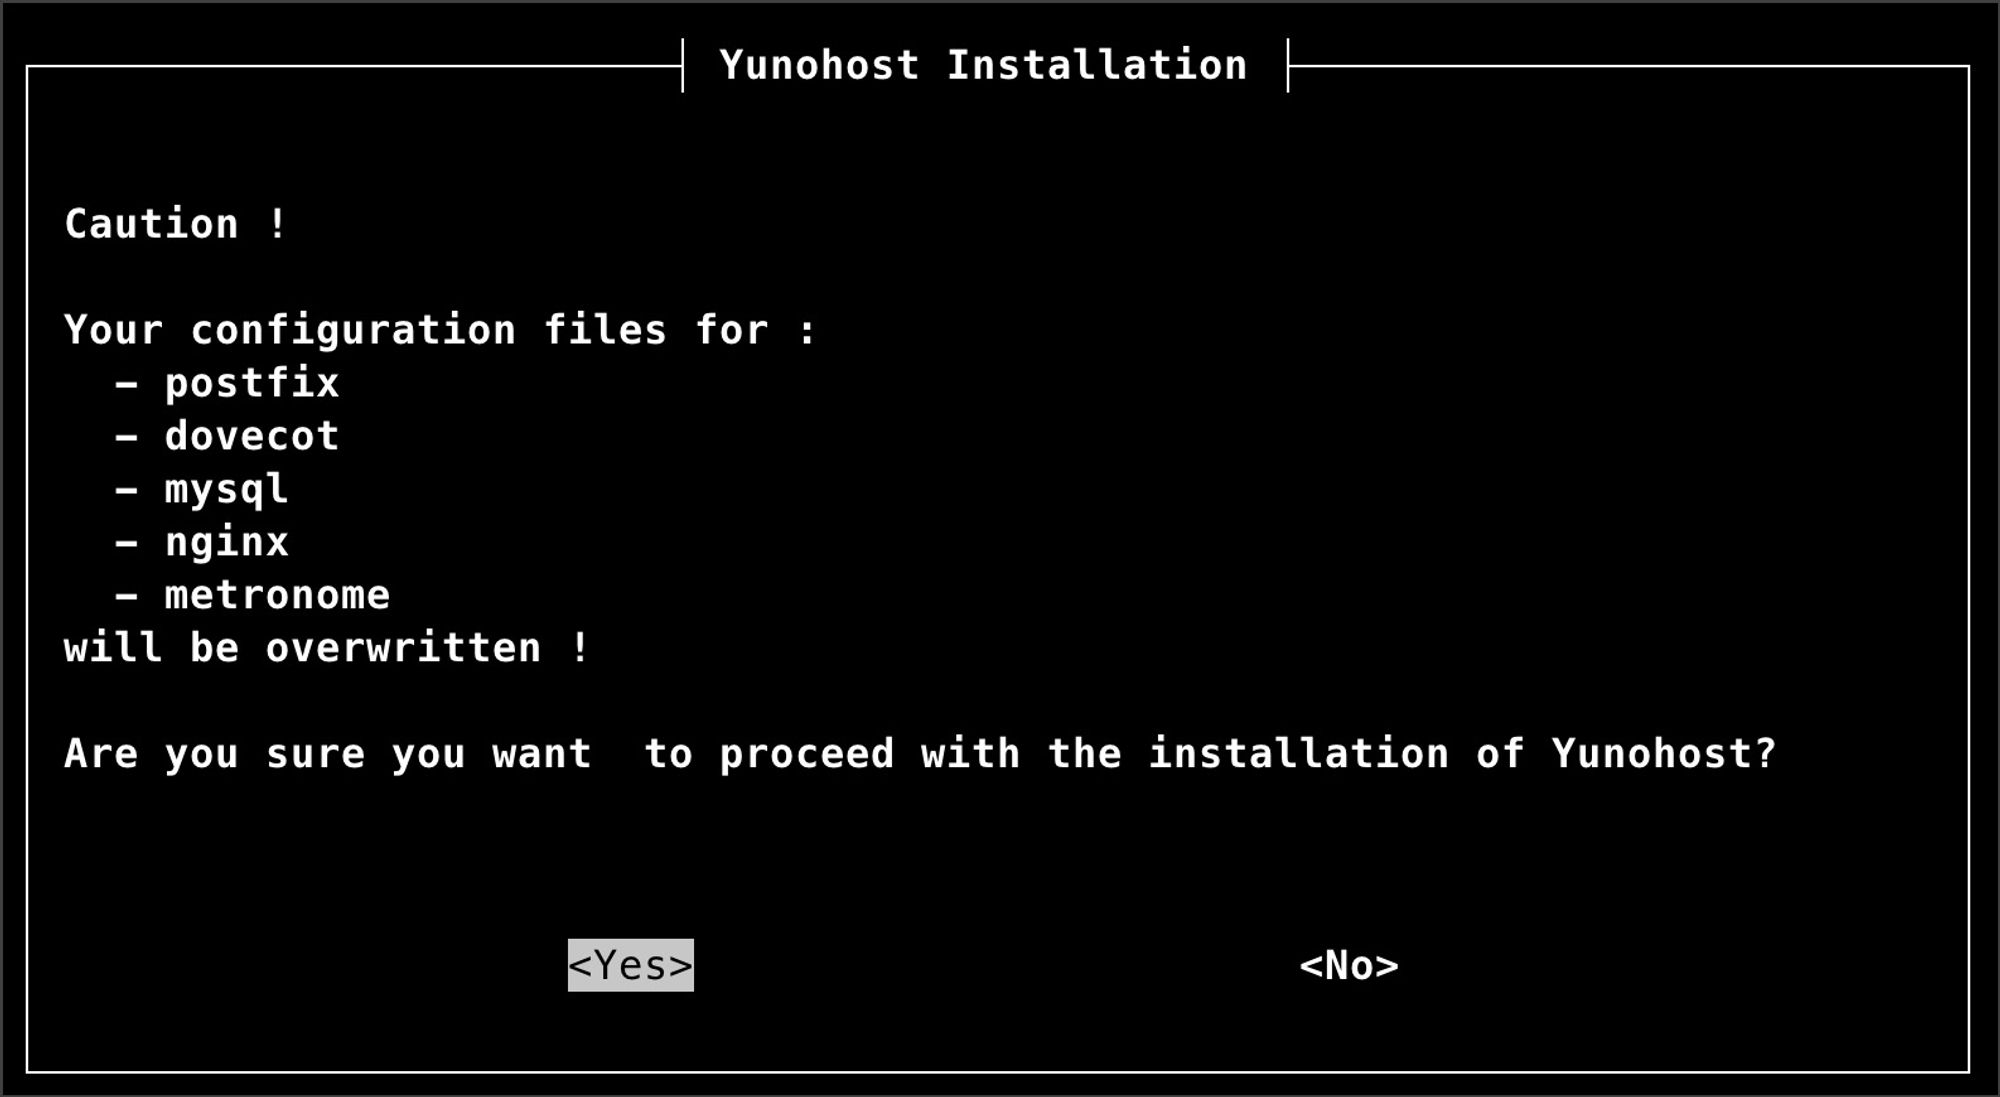
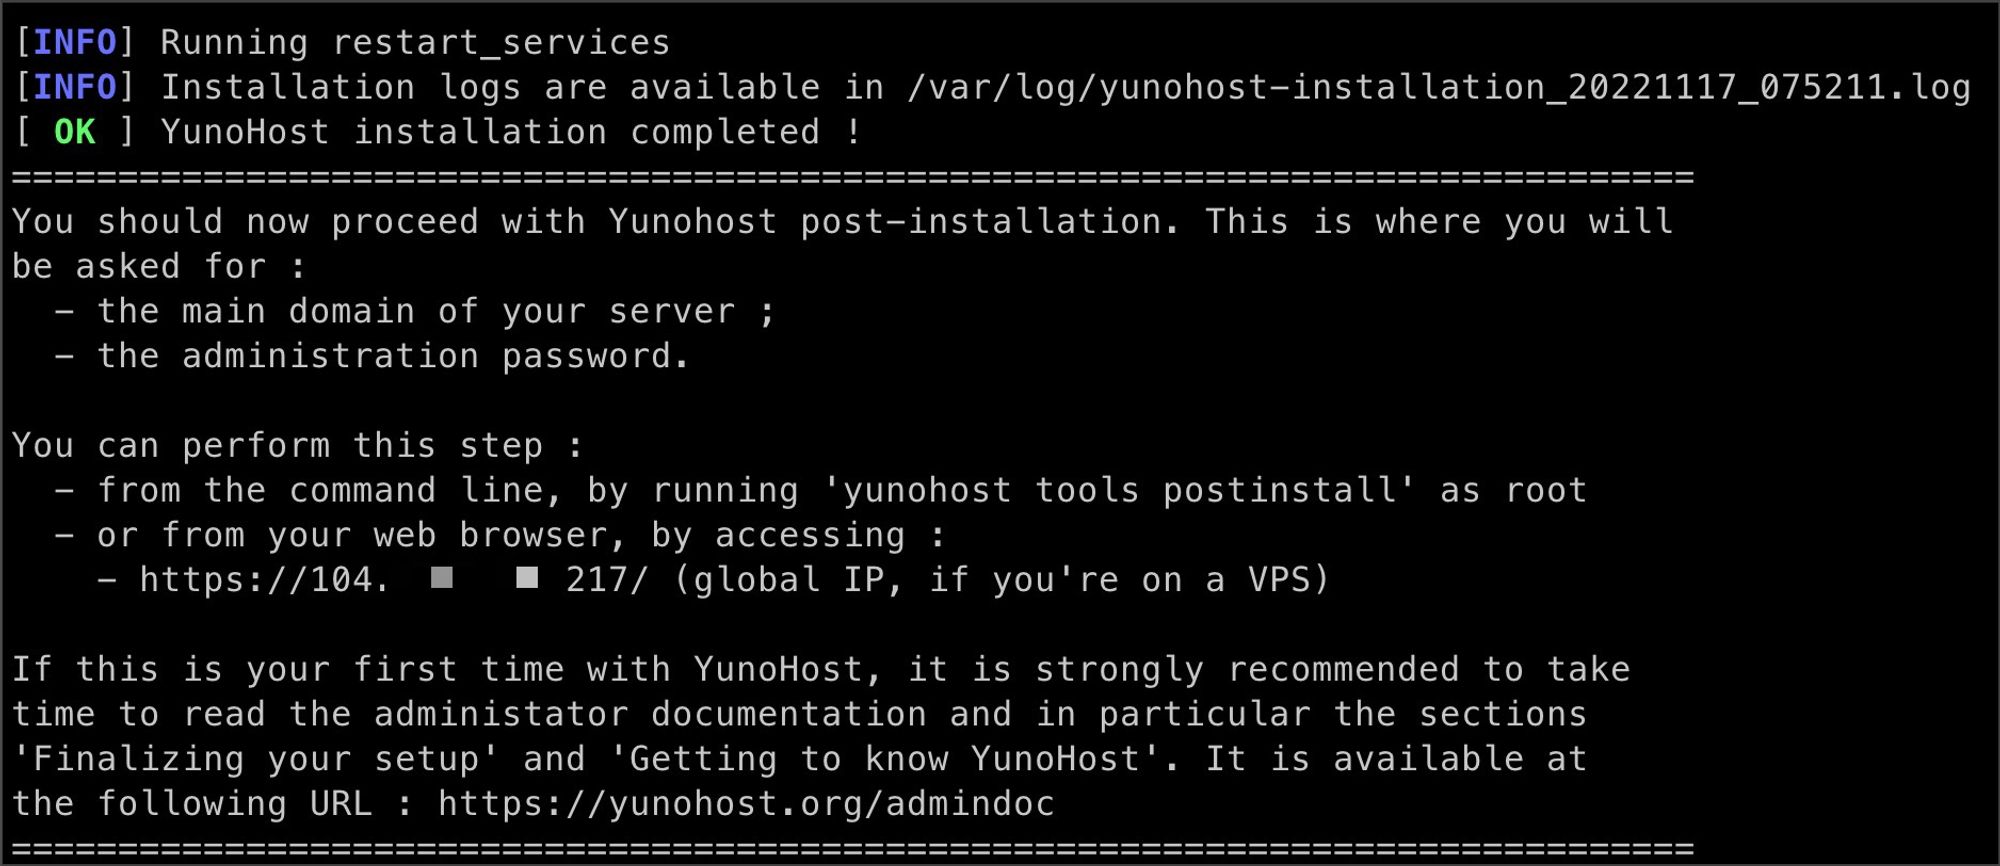
打开 https://ip/
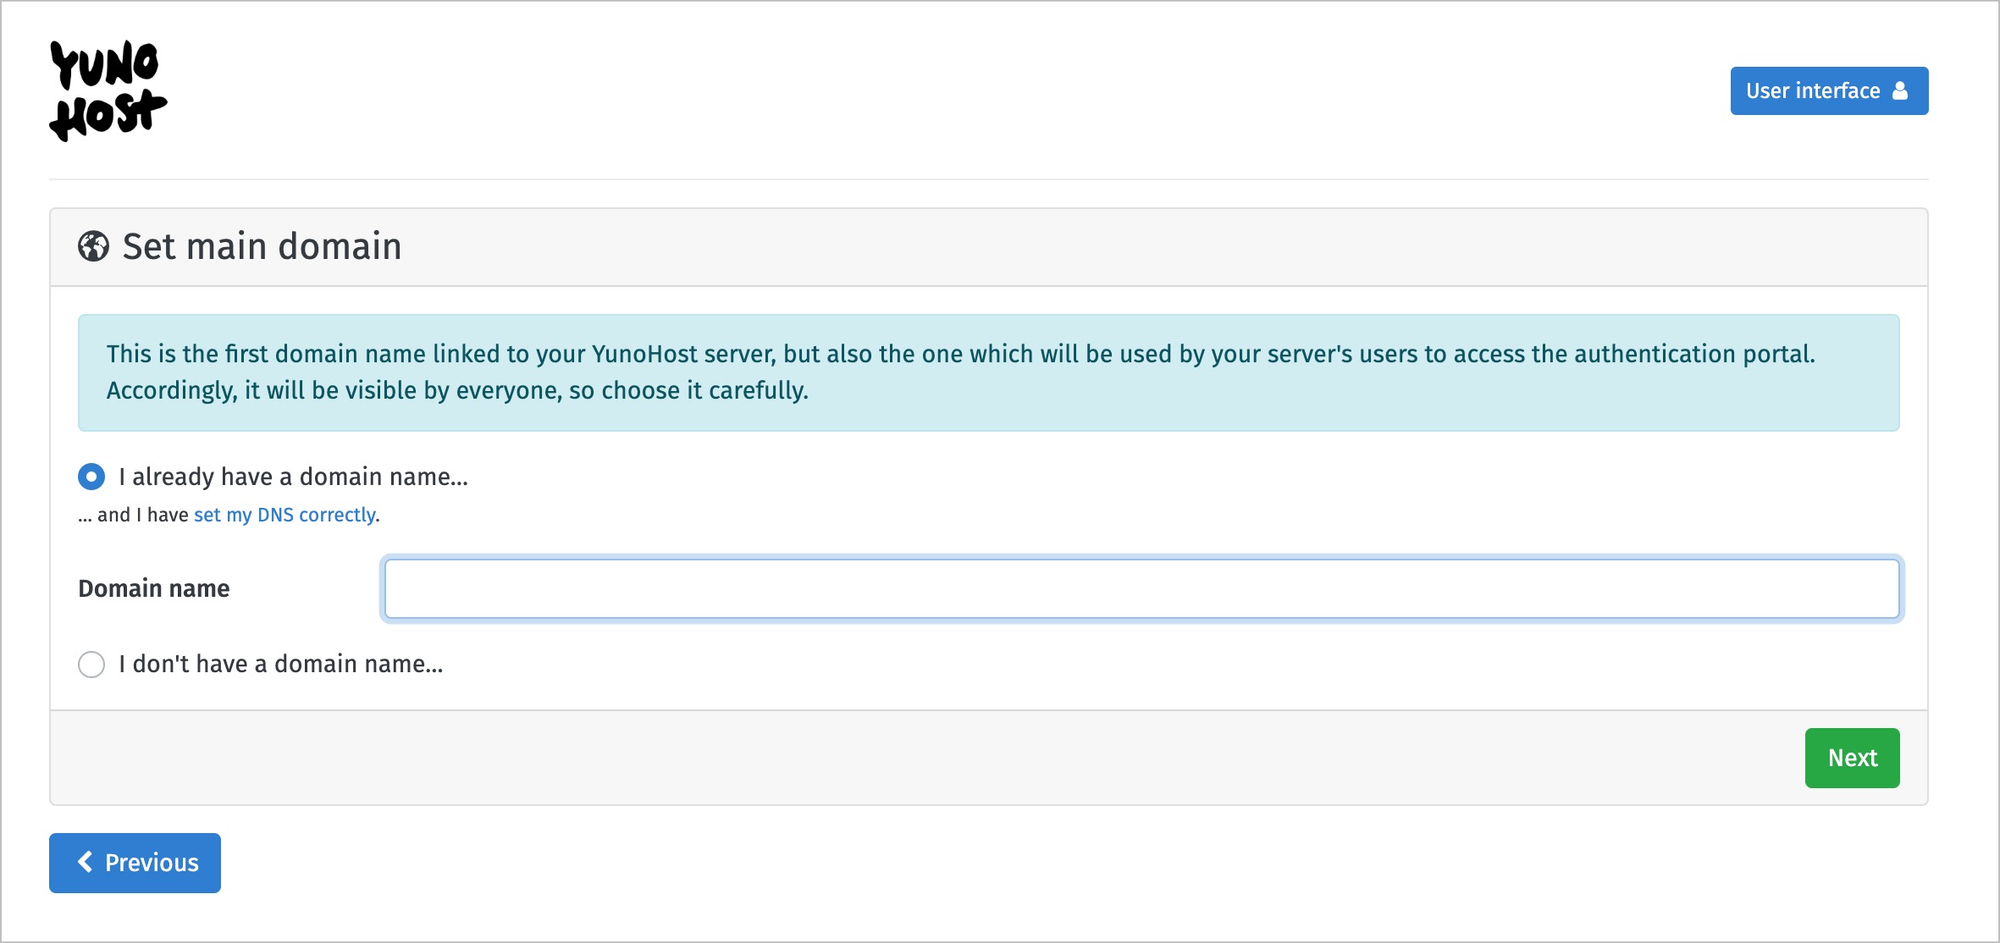
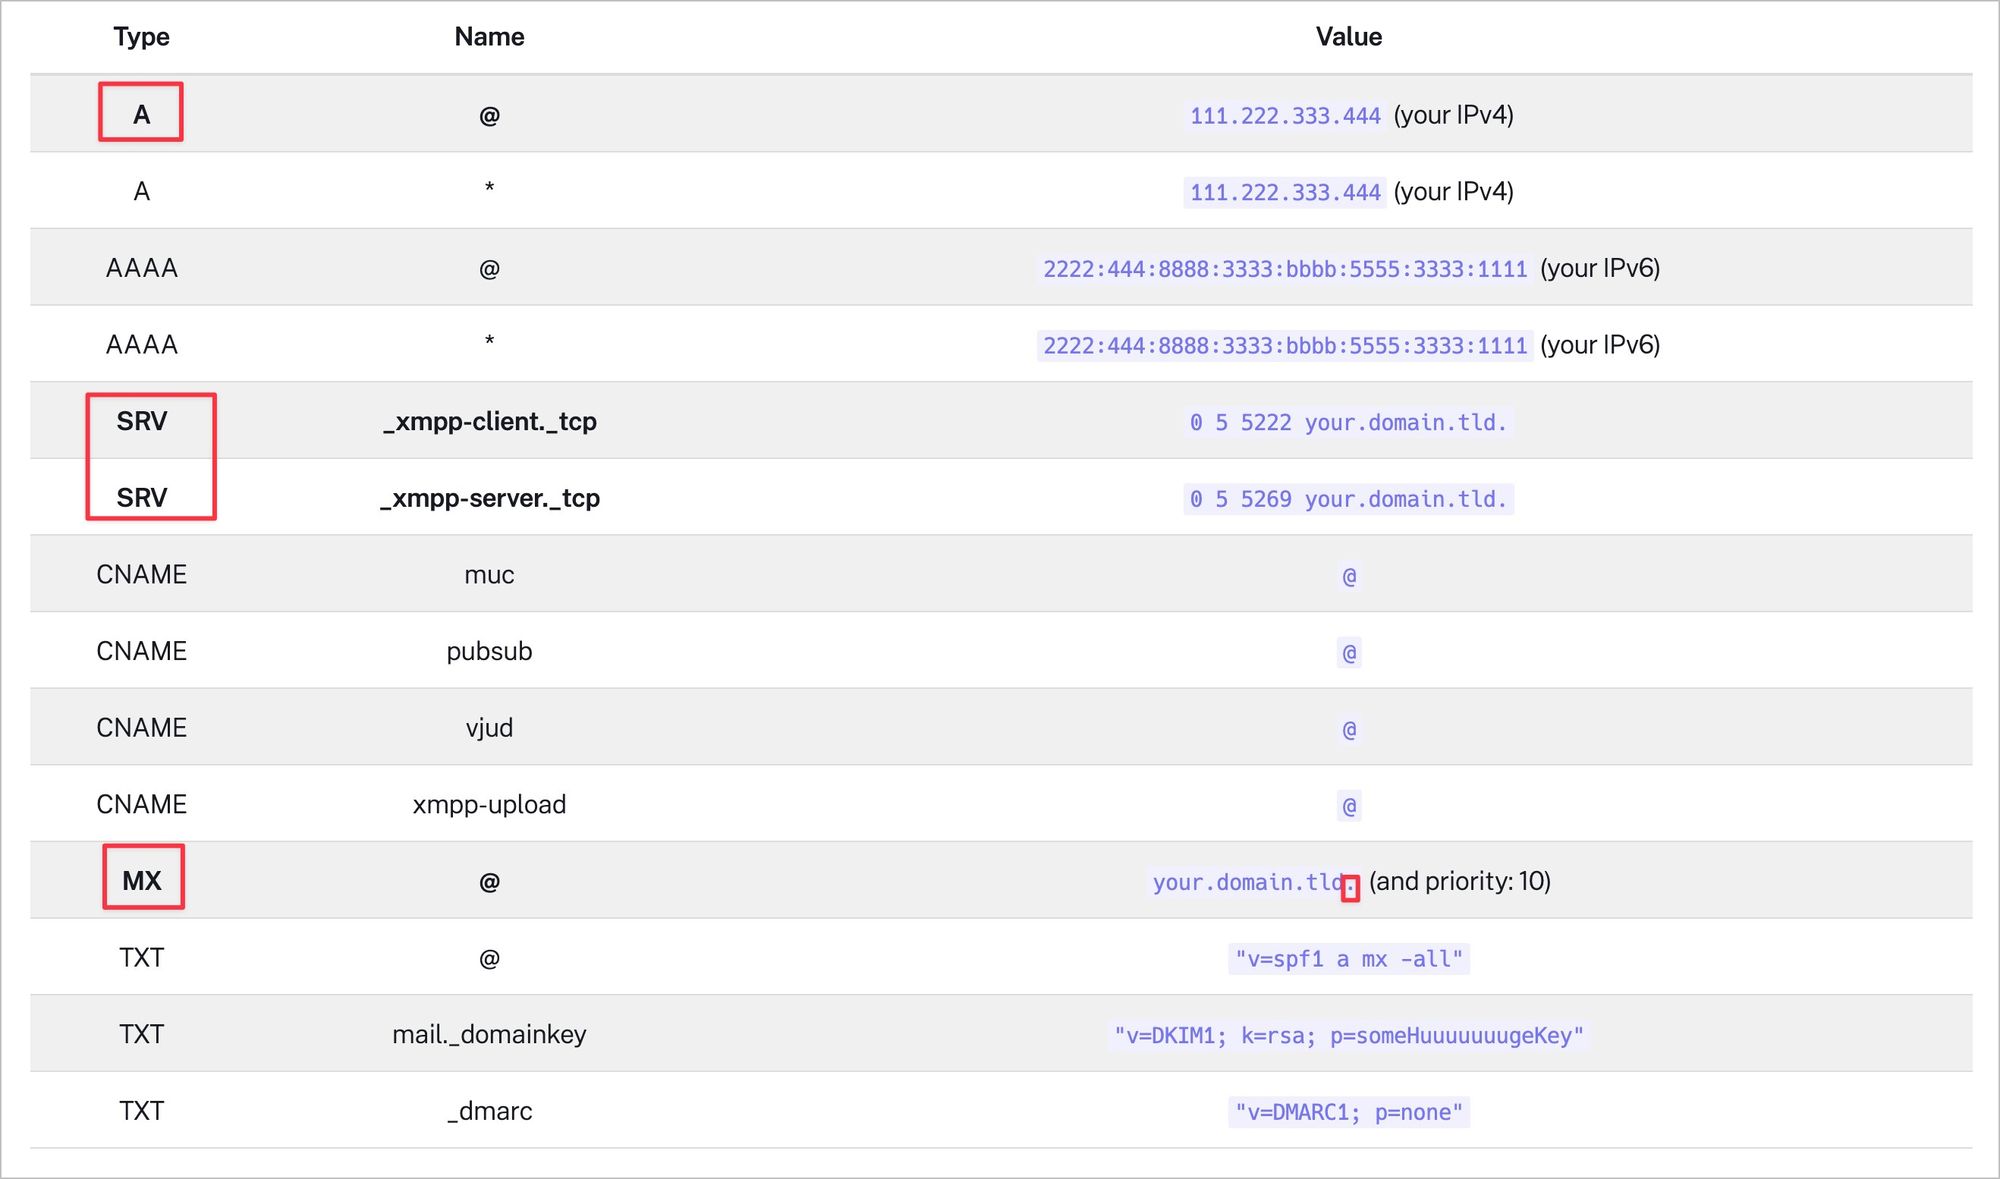
配置域名
# (A) domain.tld => ip
# (Cname) *.domain.tld => domain.tld

# optional
# MX, TXT, etc for mail setting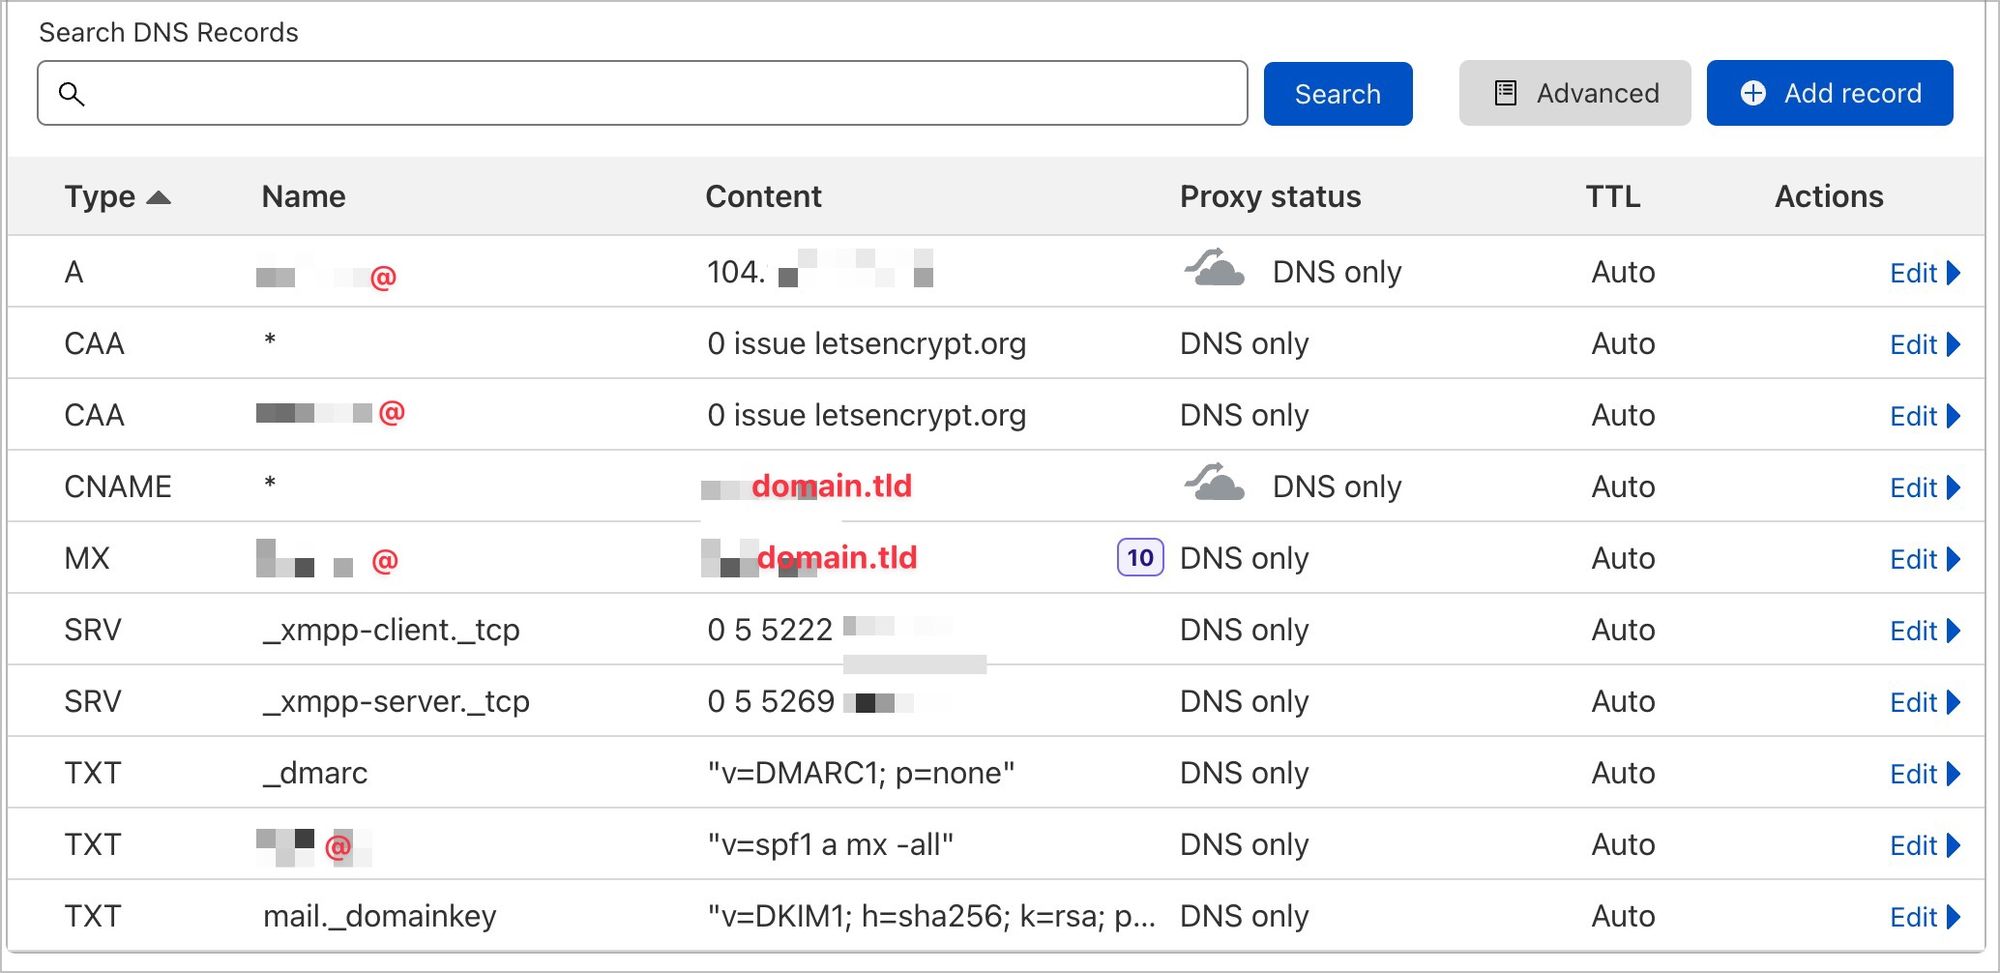

按这个说法,这几个红框里的最重要;另外结尾的 . 很重要 https://yunohost.org/en/dns_config?q=%2Fdns_config
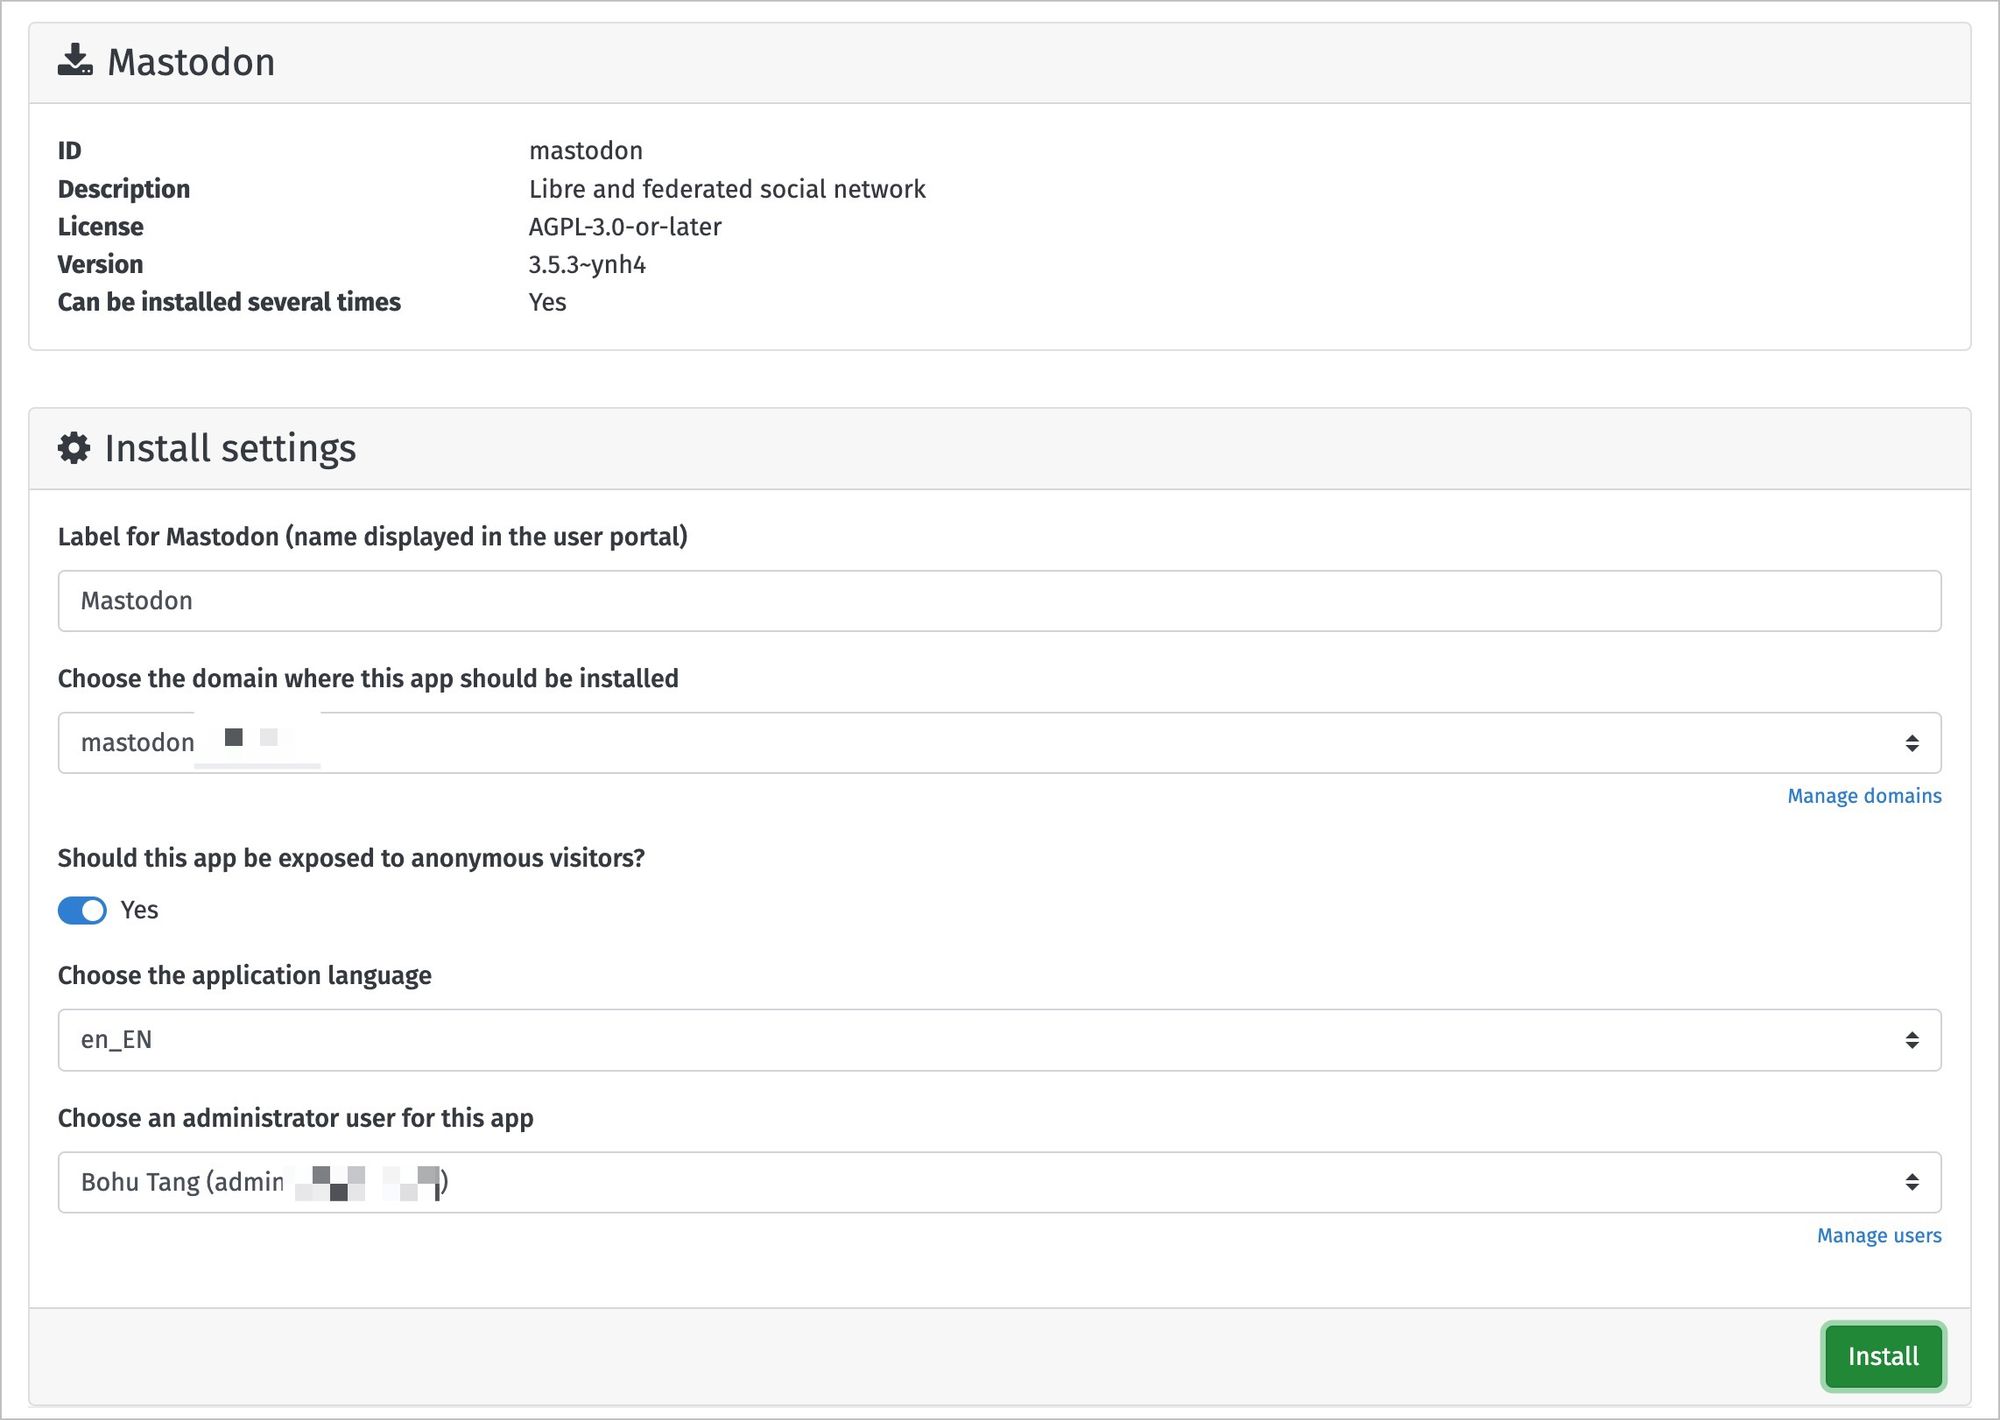
安装Mastodon
because *.domain.tld was already set up; just get a new letsencrypt ssl certificate
then use mastodon.domain.tld for this service
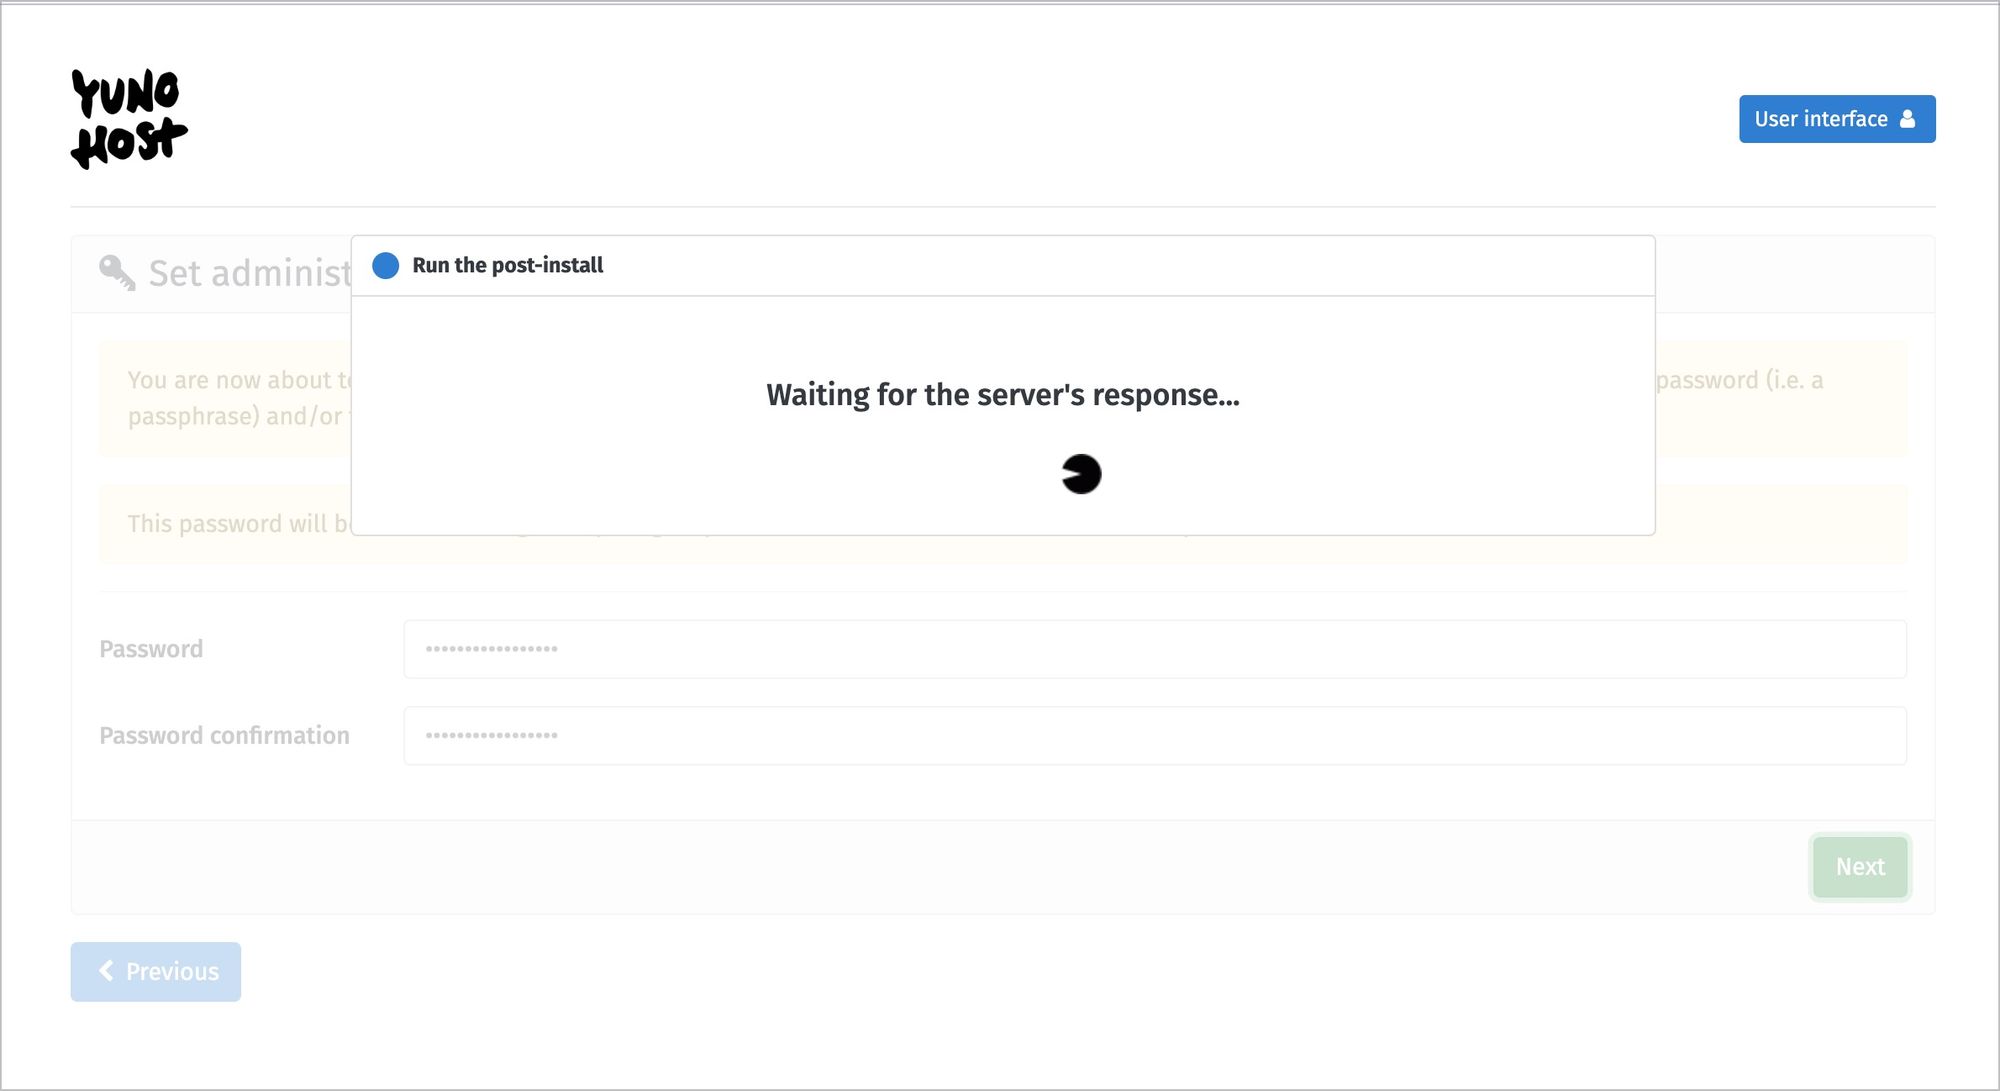
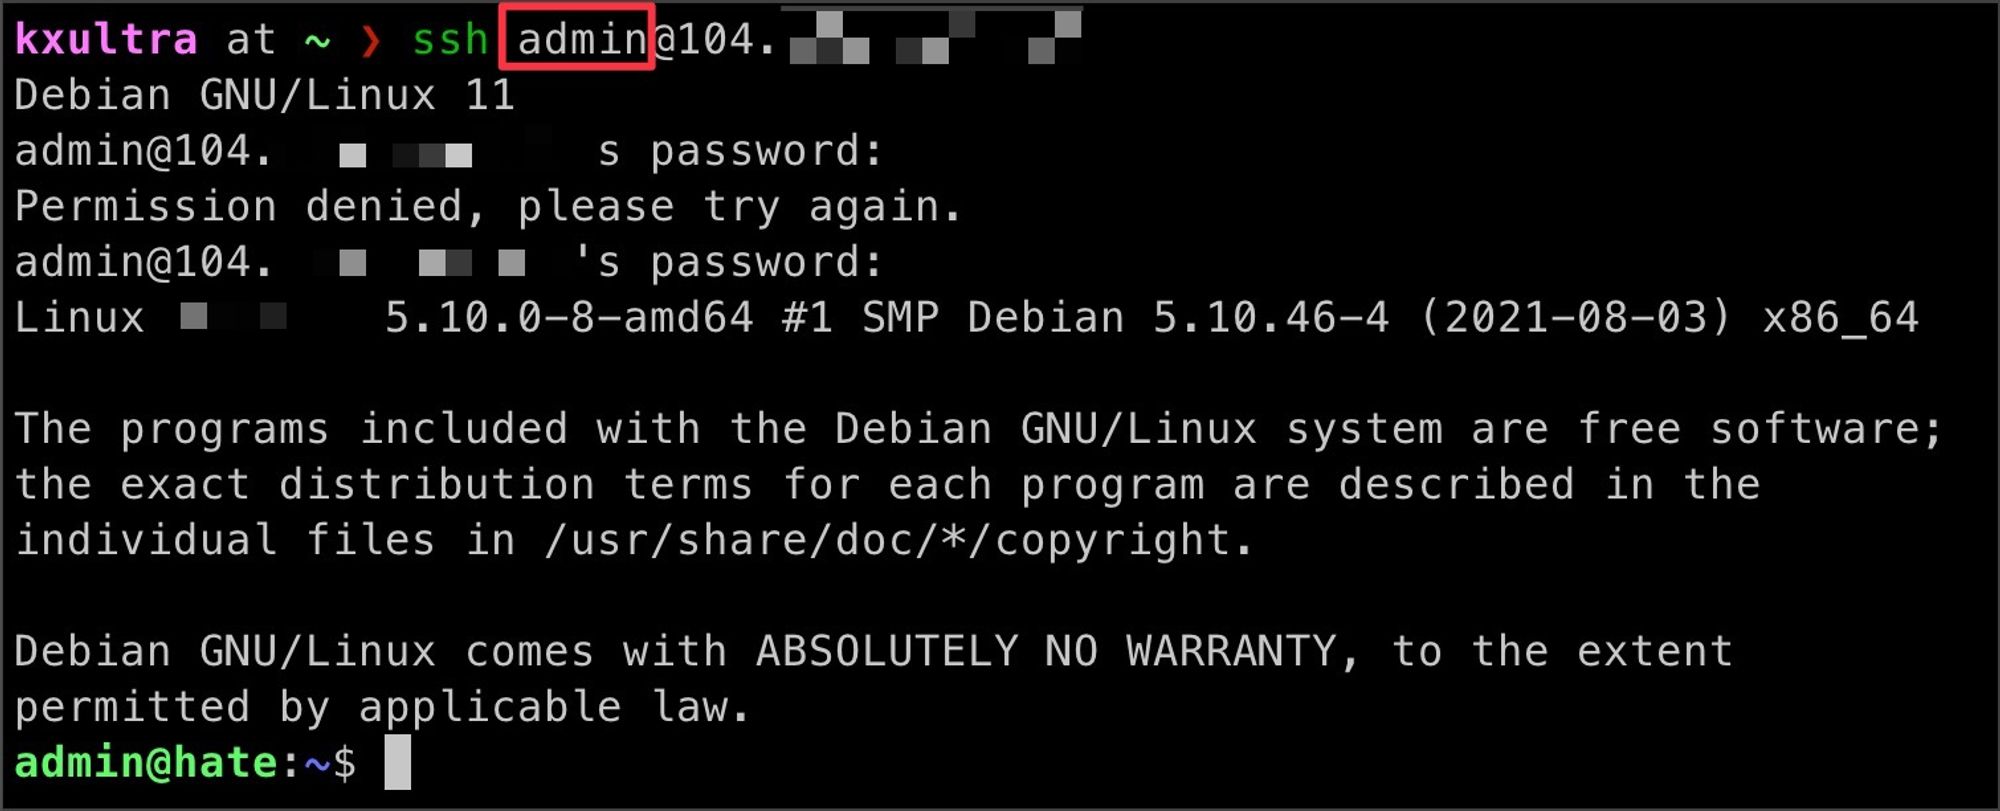
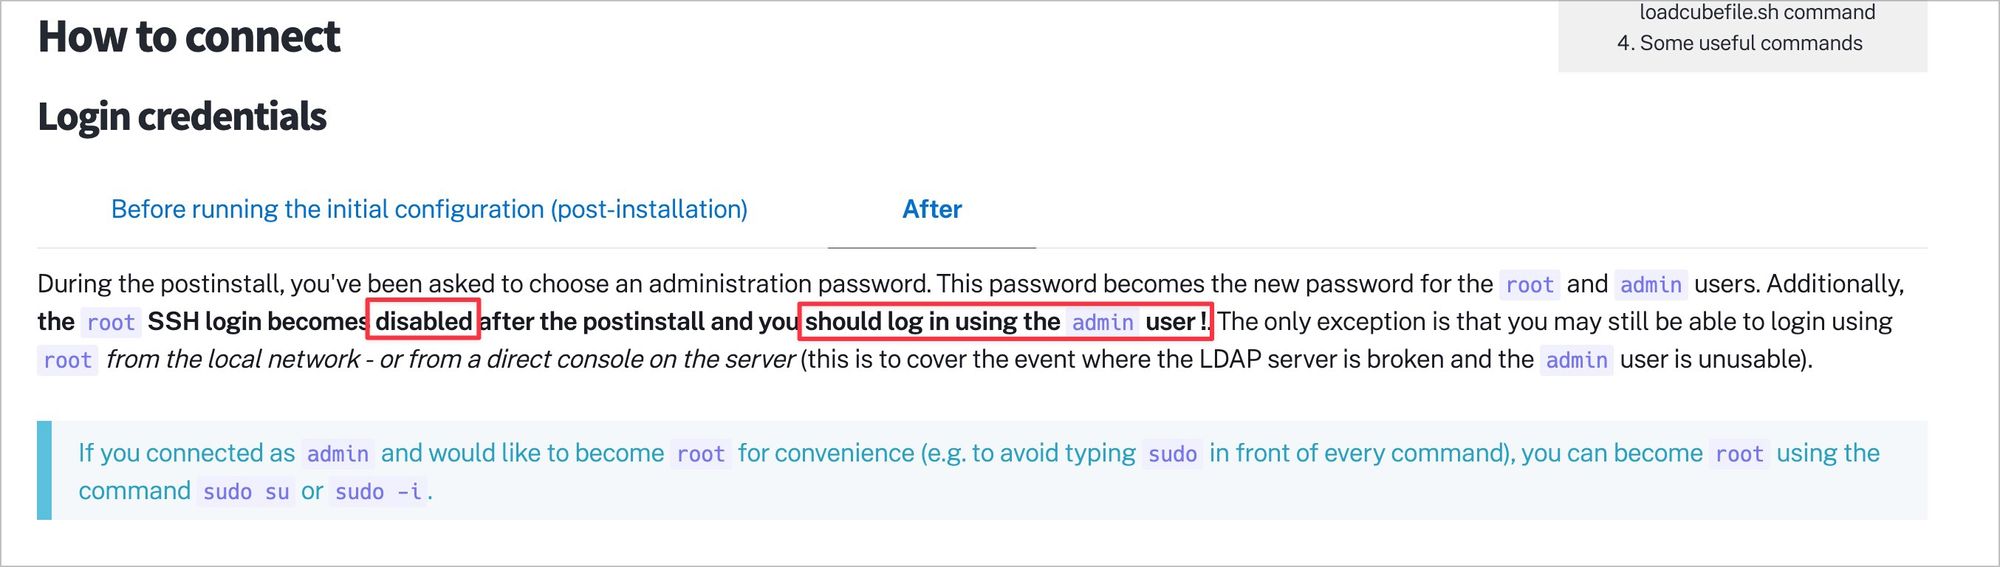
SSH - 安装之后,只能 ssh admin@ip-or-domain 密码就是管理密码
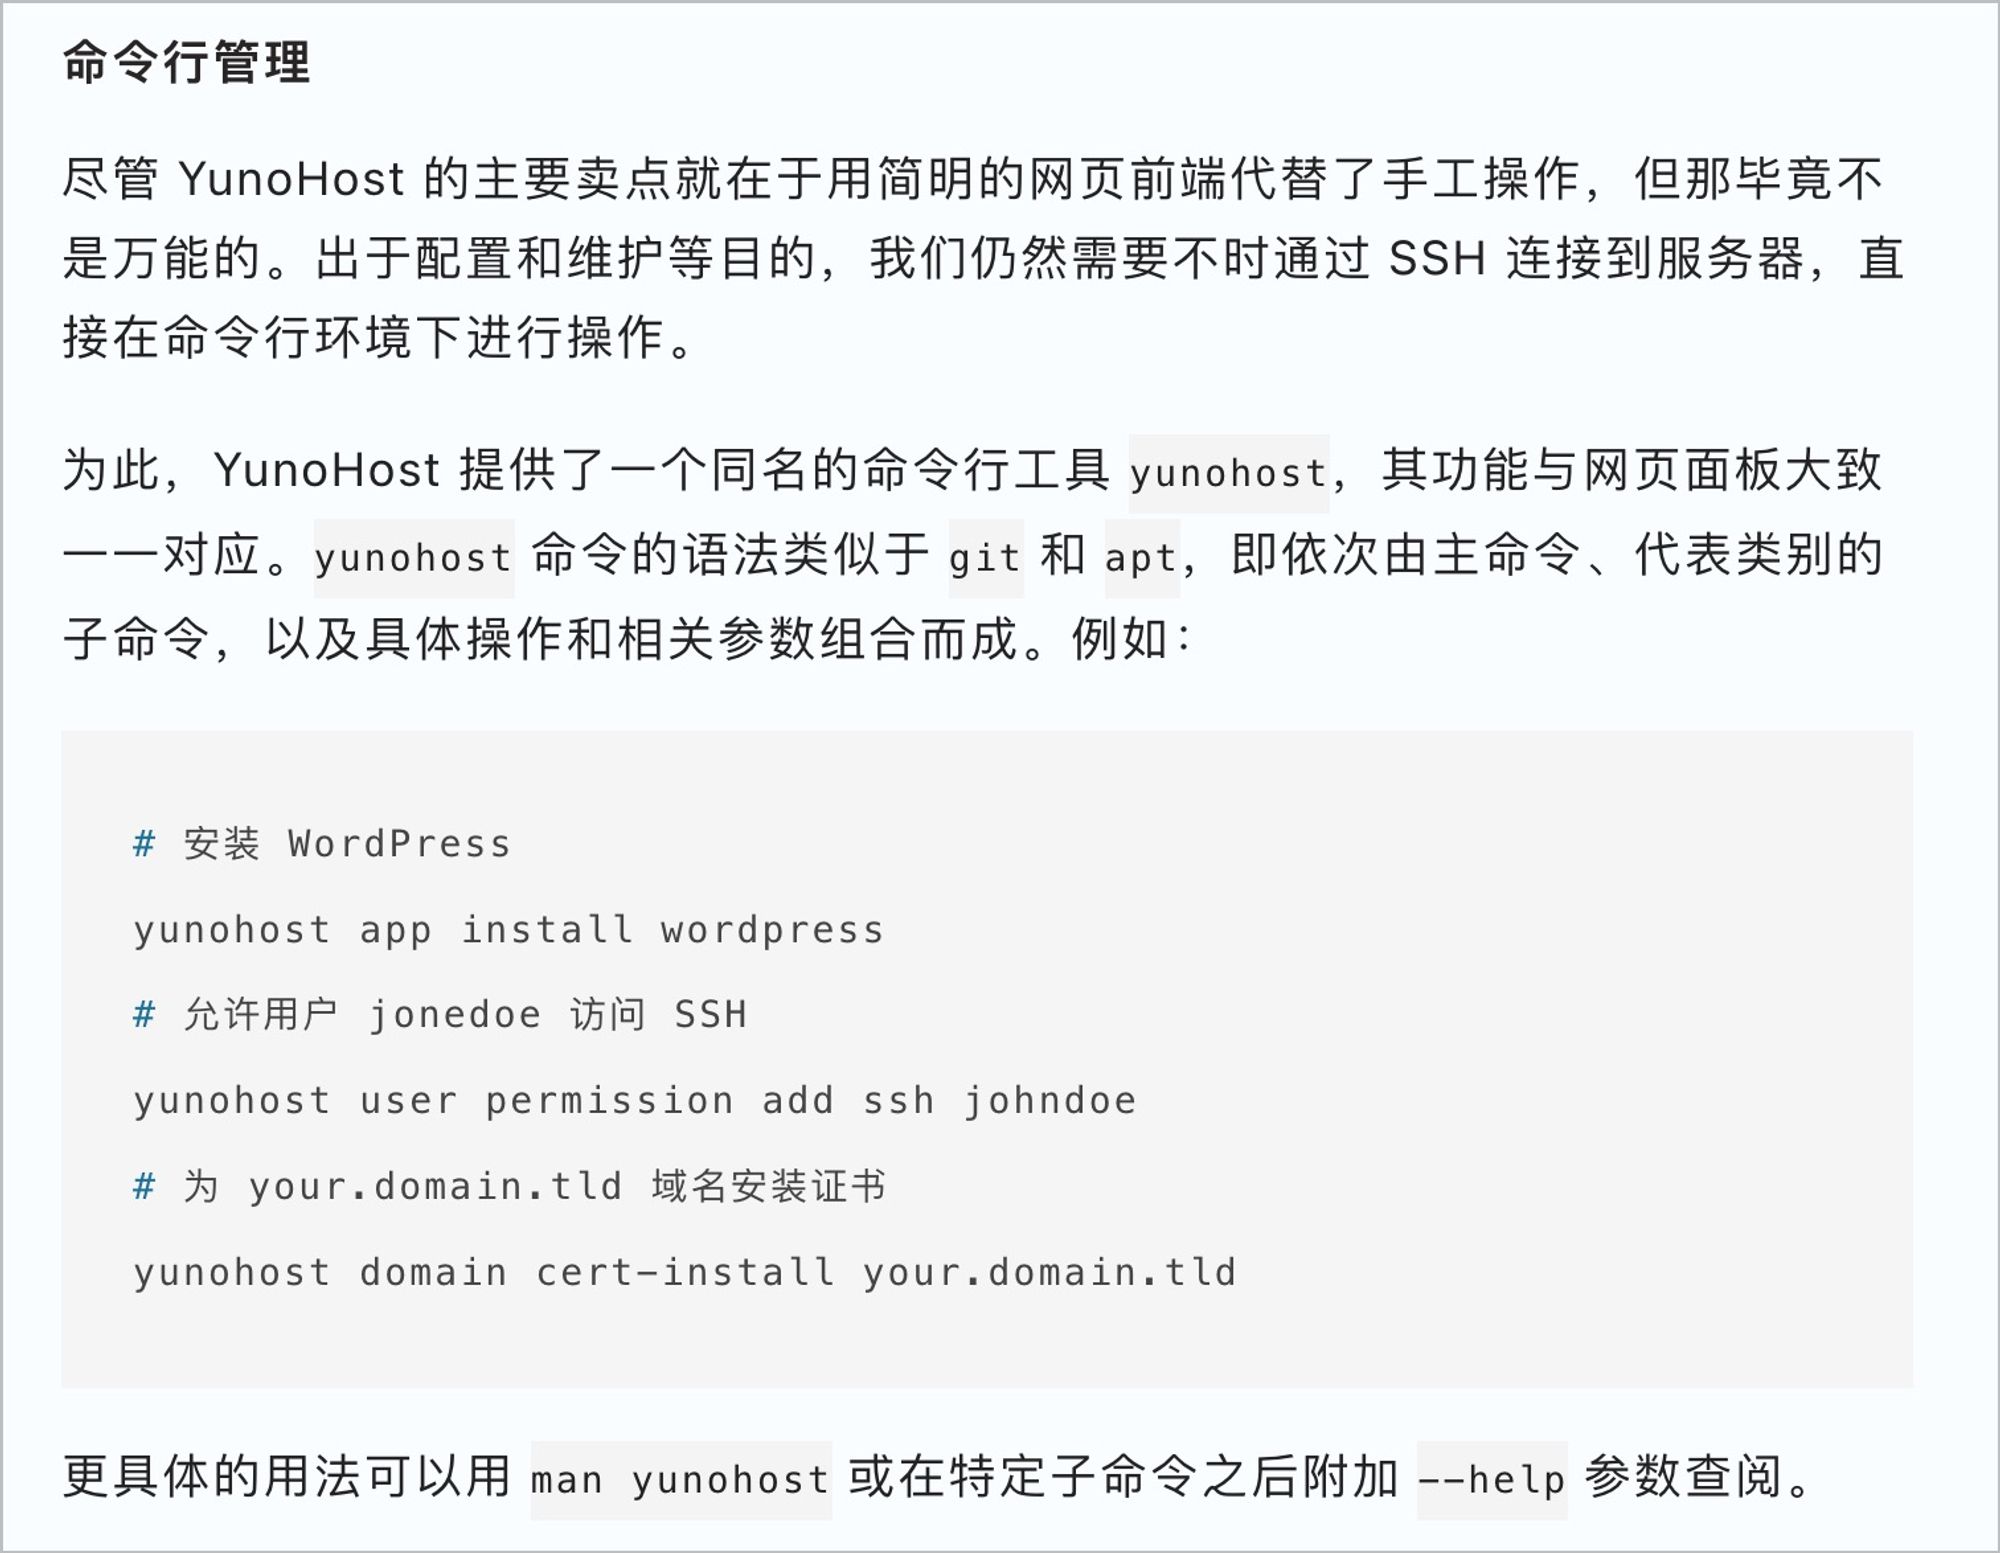
命令行访问
备份
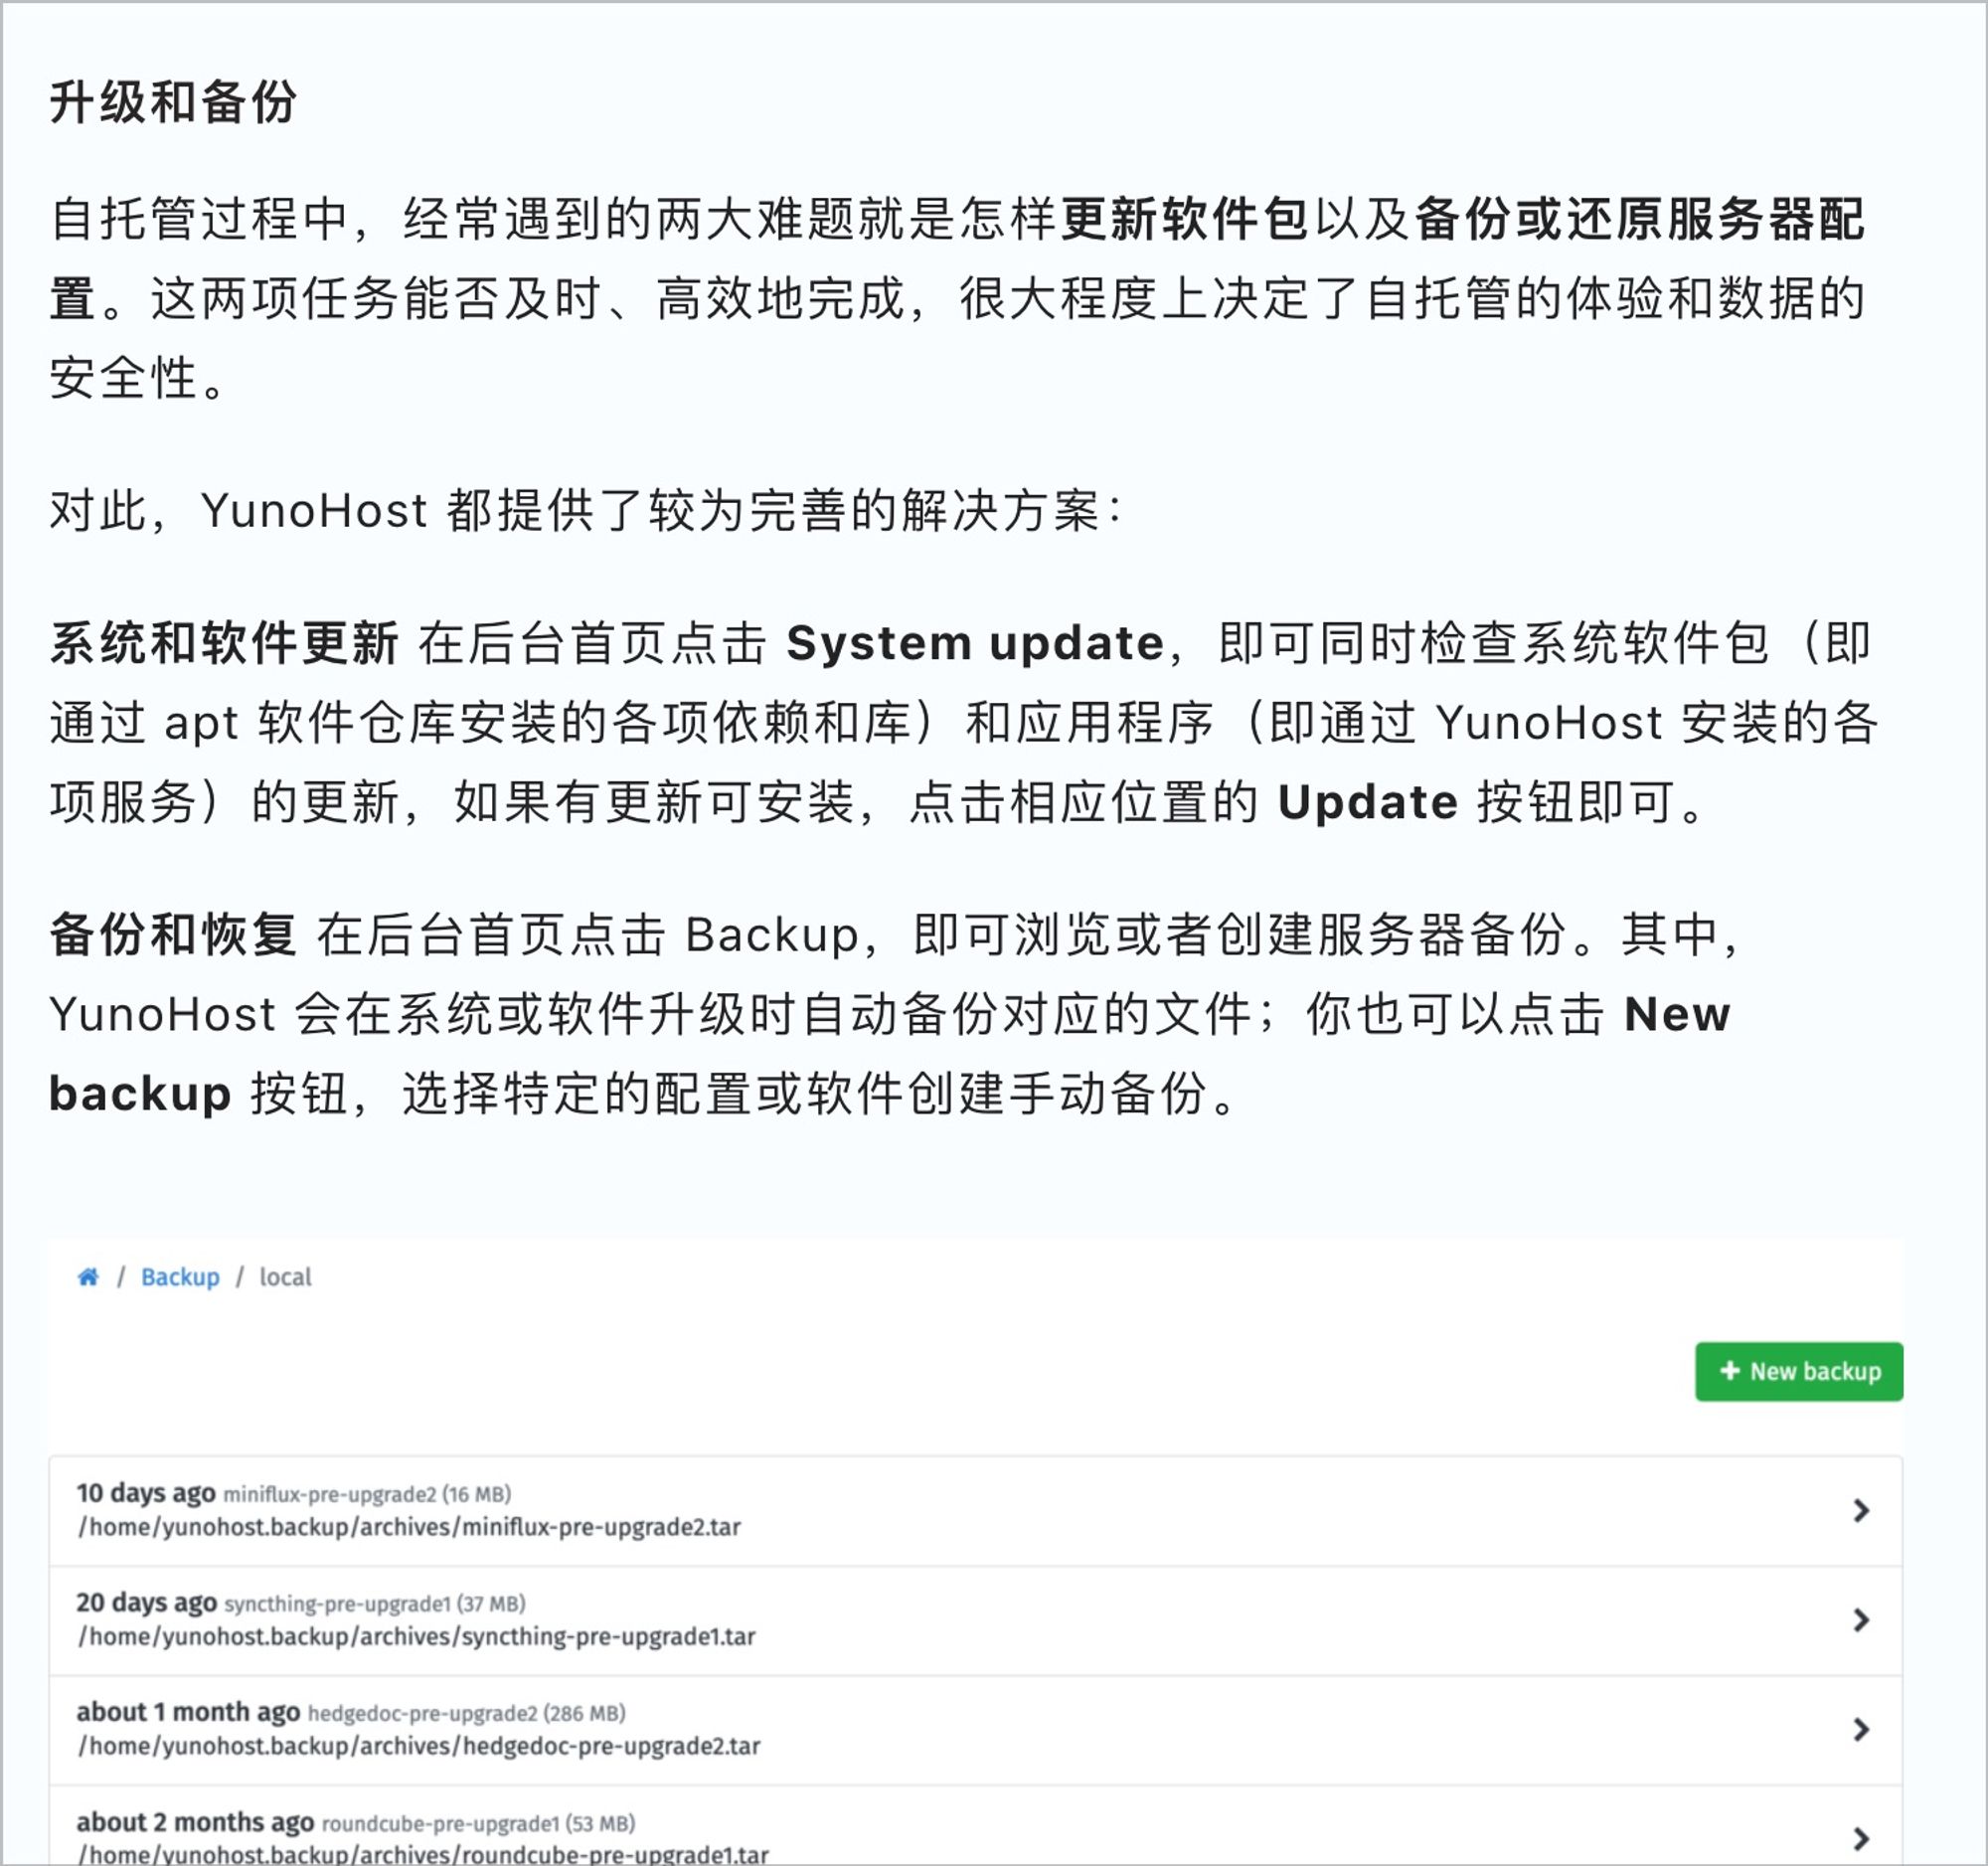
点击某一个备份记录后,可以选择下载、恢复等操作。这些备份位于服务器上的
/home/yunohost.backup/archives/
路径下;如果需要跨服务器进行迁移和恢复操作,将备份文件上传到待恢复服务器的这个路径即可。# install rclone and config
crontab -e
# m h dom mon dow command
#SHELL=/bin/bash
# every 6 hours
1 */6 * * * /usr/bin/rclone sync --progress /home/yunohost.backup qh13_webdav_remote:webdav_remote/_host/yunohost_hatecc/yunohost.backup >> ~/backup2qh.log 2>&1已经安装的服务