群晖Docker挂载阿里云盘到WebDav并用于HyperBackup远程备份
date
Mar 20, 2022
slug
nas-synology-aliyun-webdav-hypaerbackup
status
Published
summary
远程备份到阿里云盘
tags
网盘
nas
type
Post
URL
Summary老文章 https://1024.ee/index.php/2021/09/03/新服务docker加载aliyun阿里云盘做webdav服务/步骤Docker挂载阿里云盘成WebDavssh 登陆到群晖进行命令行配置在群晖上面配置开机后之后rclone mount验证如果是Google Drive - 假设http proxy开在17890端口用access_token,那就容易,只要加翻墙设置就行了如果是用AutoRclone json 身份文件,用tar先把目录复制过来,再改配置参考 - https://i4t.com/5290.html
Summary
老文章 https://1024.ee/index.php/2021/09/03/新服务docker加载aliyun阿里云盘做webdav服务/
- 挂载Webdav
- 进行HyperBackup
步骤
Docker挂载阿里云盘成WebDav
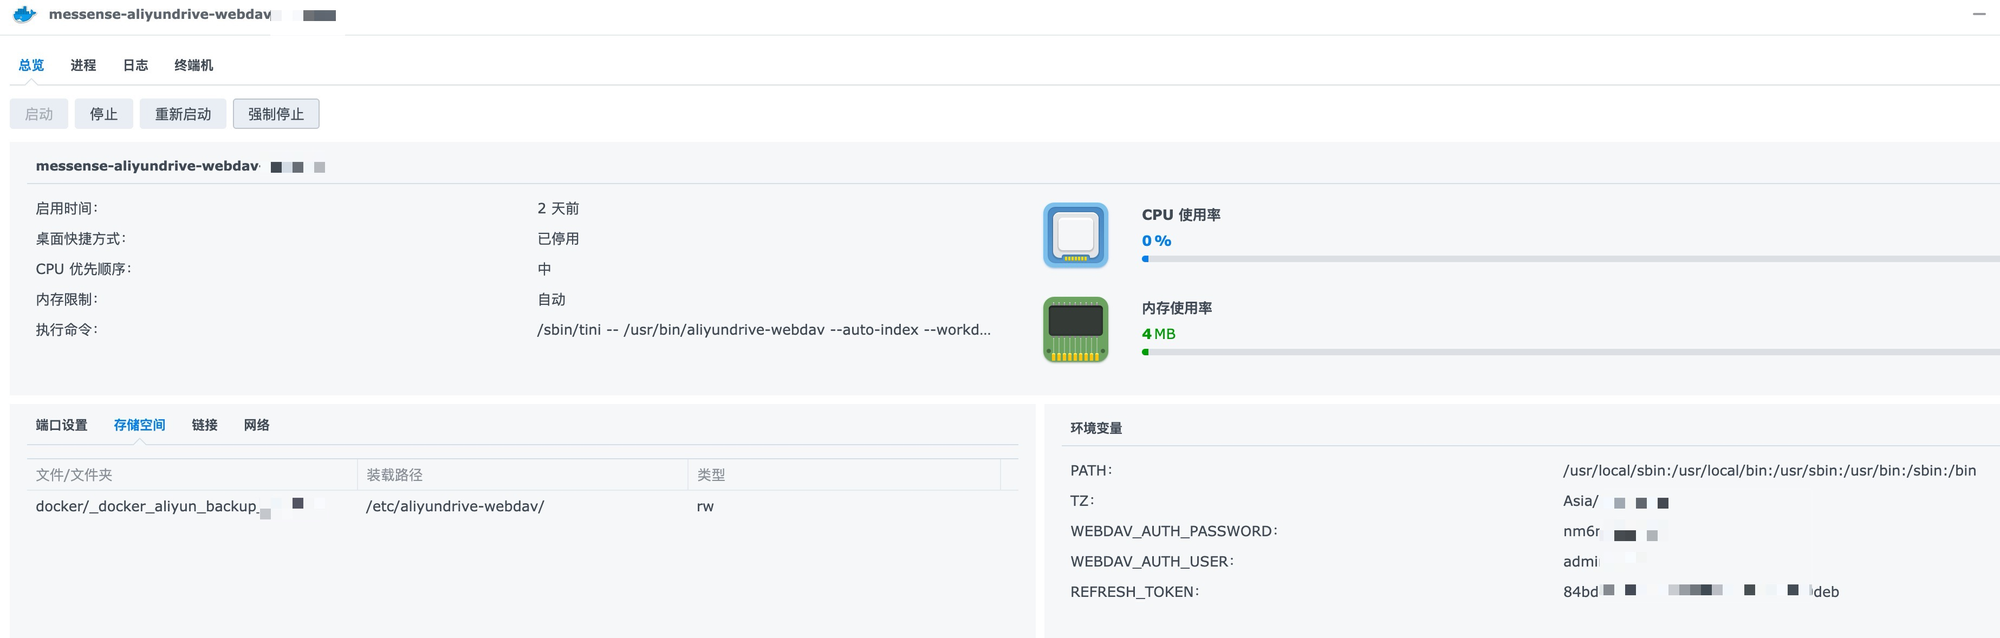
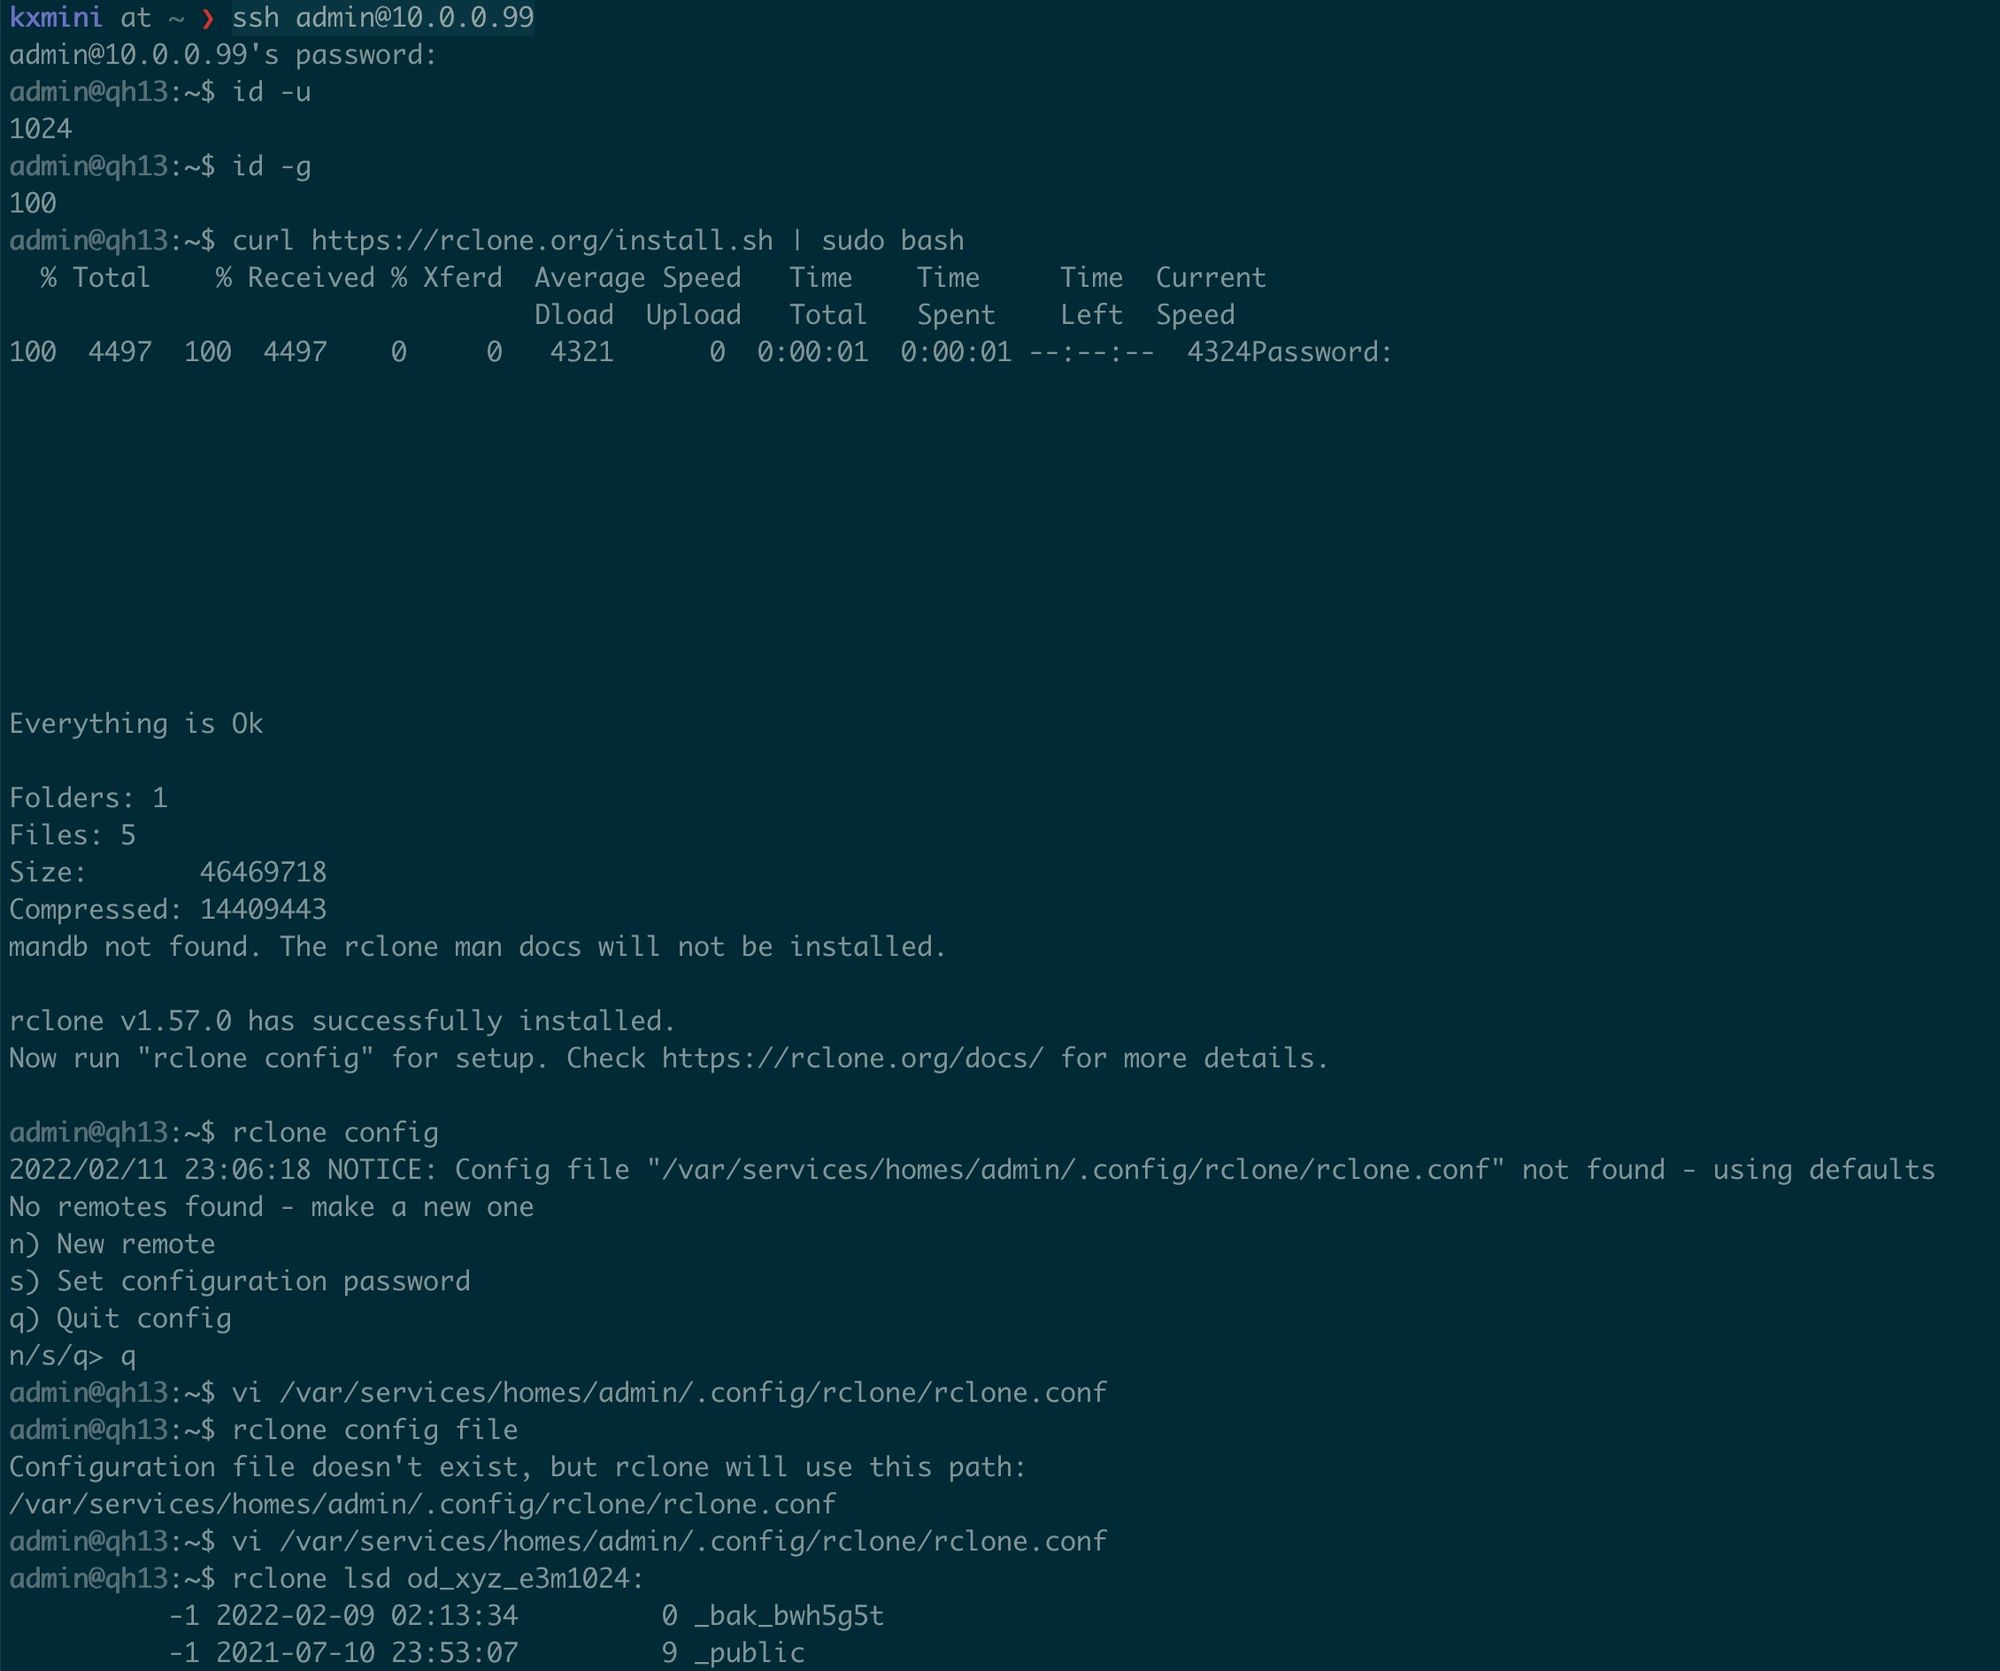
ssh 登陆到群晖进行命令行配置
ssh admin@10.0.0.18 # 群晖nas ip
export HTTP_PROXY=http://127.0.0.1:18010
export HTTPS_PROXY=http://127.0.0.1:18010
curl https://rclone.org/install.sh | sudo bash
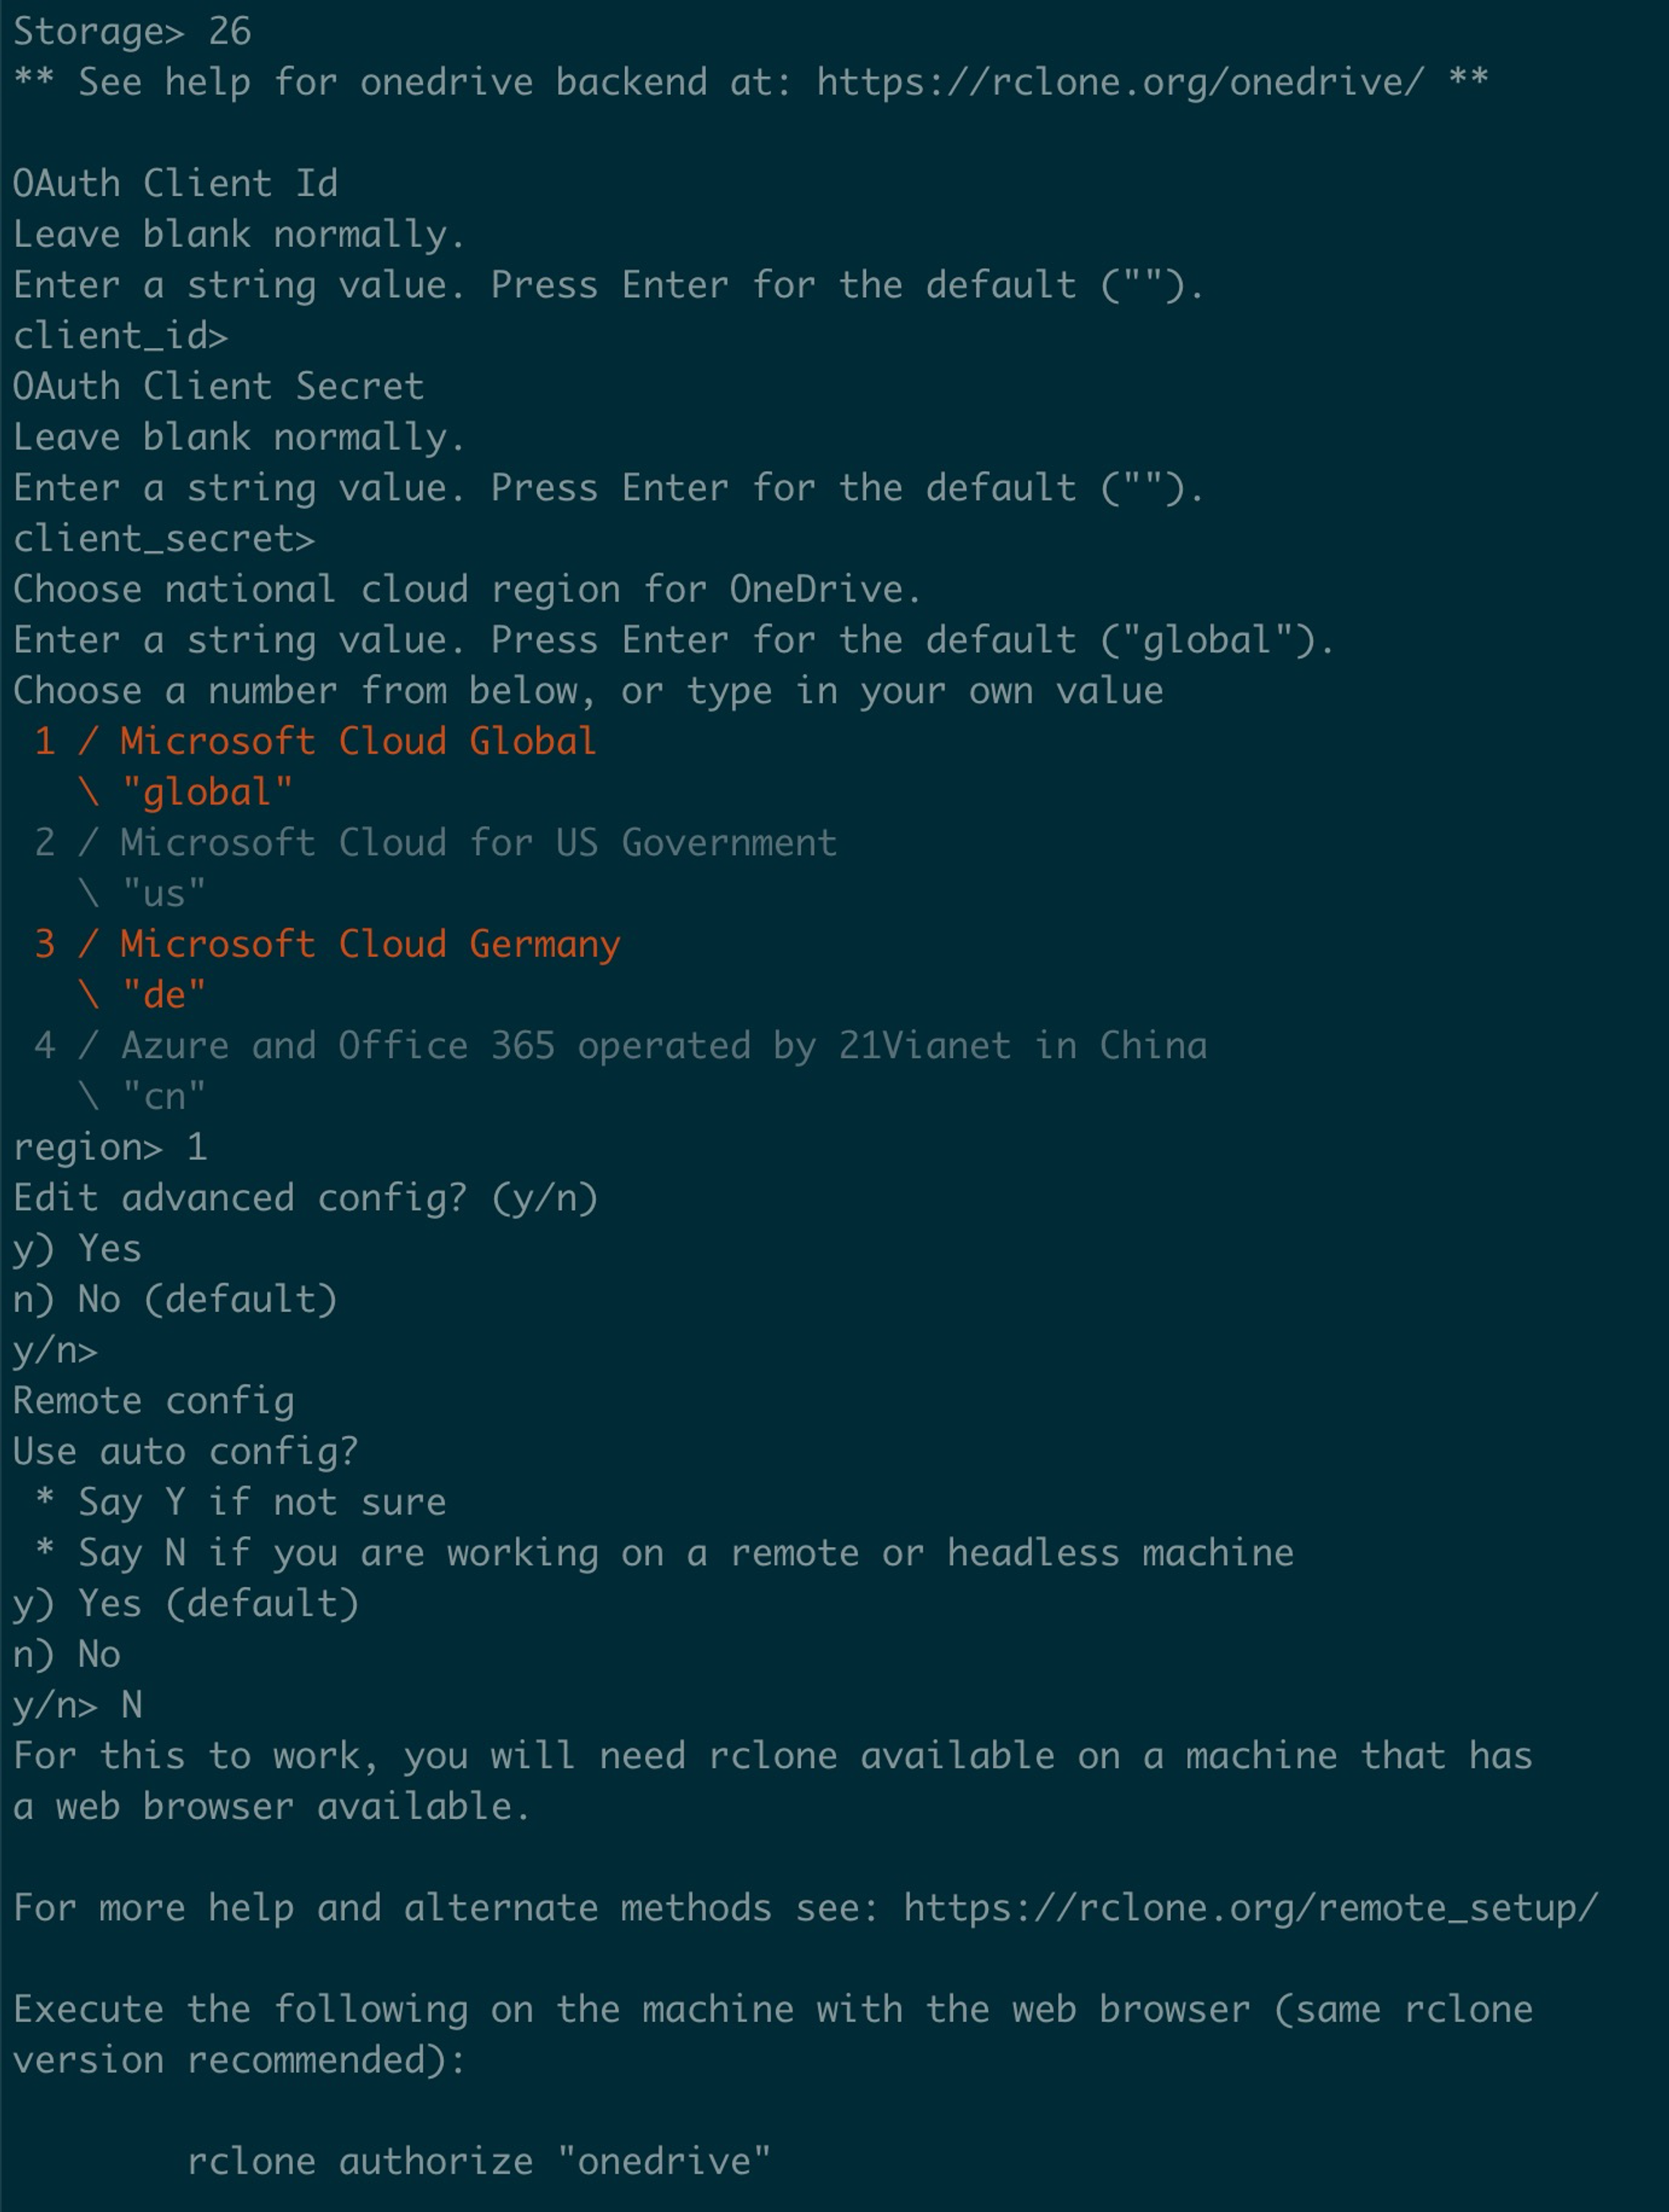
rclone config # to find conf path
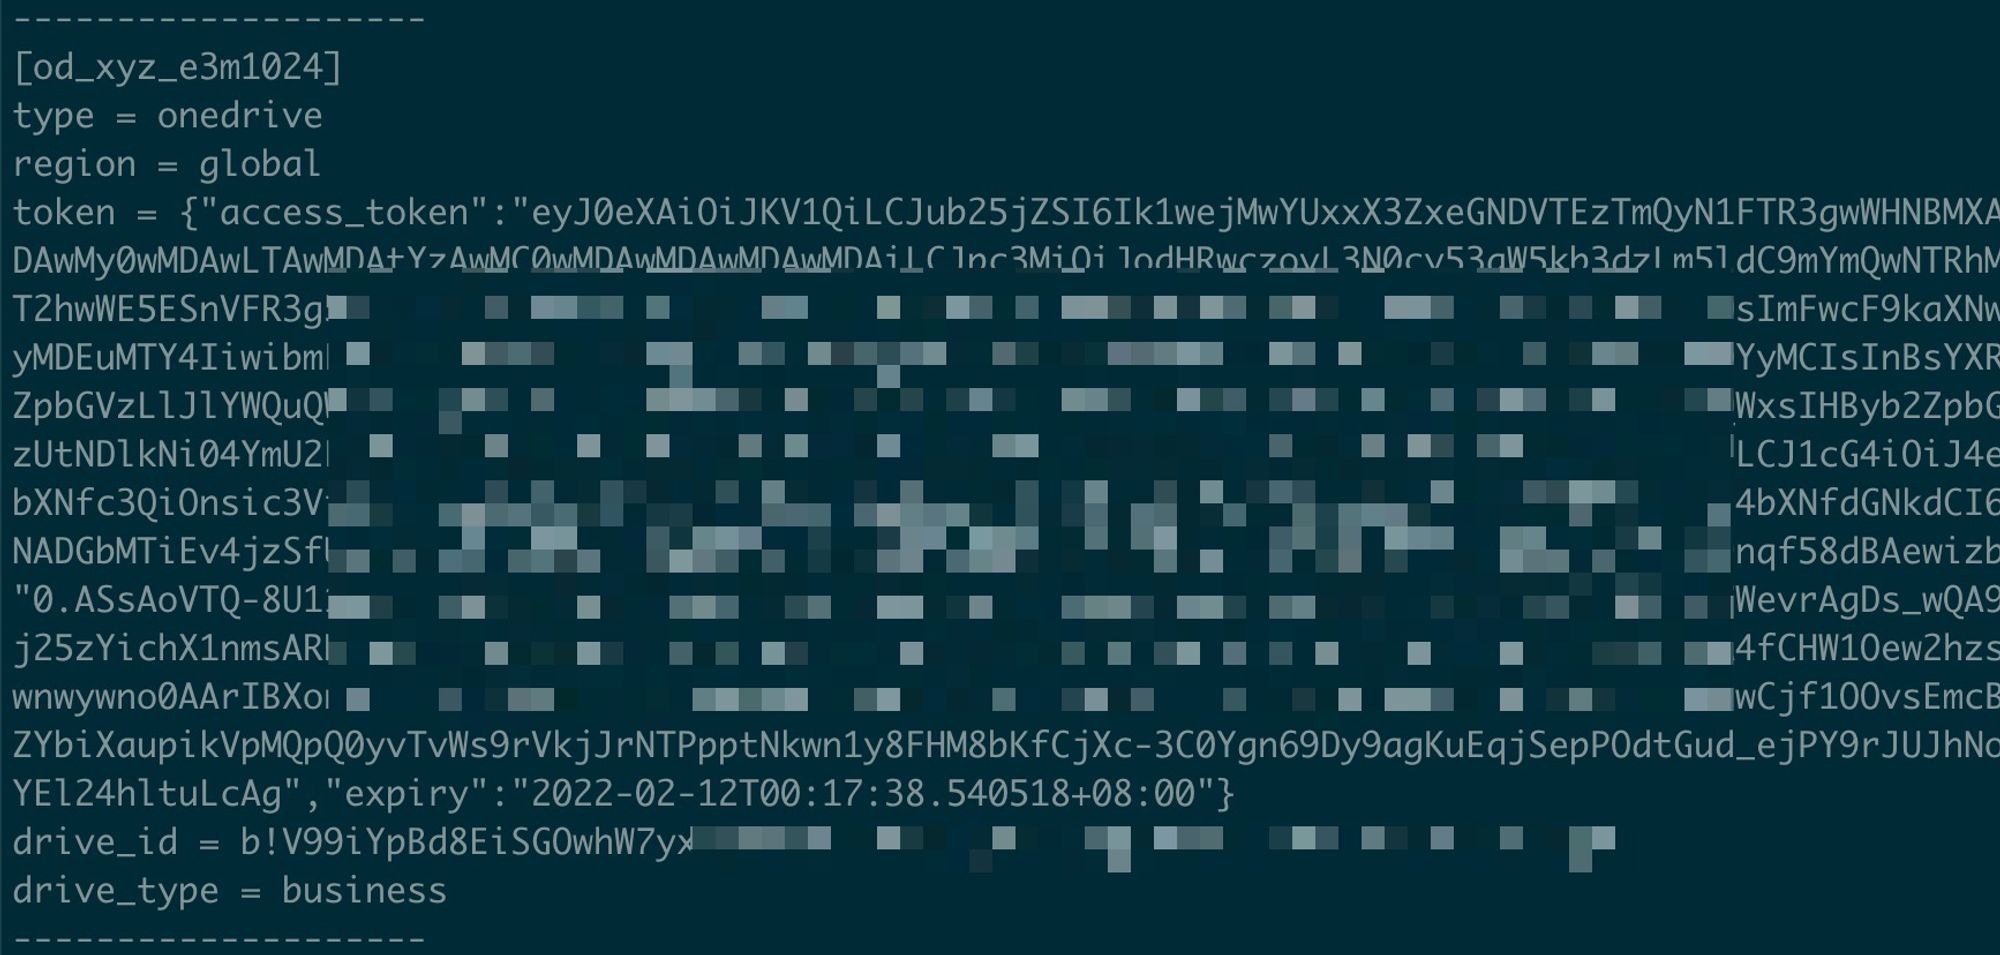
vi /var/services/homes/admin/.config/rclone/rclone.conf
# 把配置贴进去即可
# 我希望用root来run,就把rclone相关的配置+cache都放到一个都能访问的地方
cp /var/services/homes/admin/.config/rclone/rclone.conf /volume1/mount/_rclone_config/
# 加载点目录创建
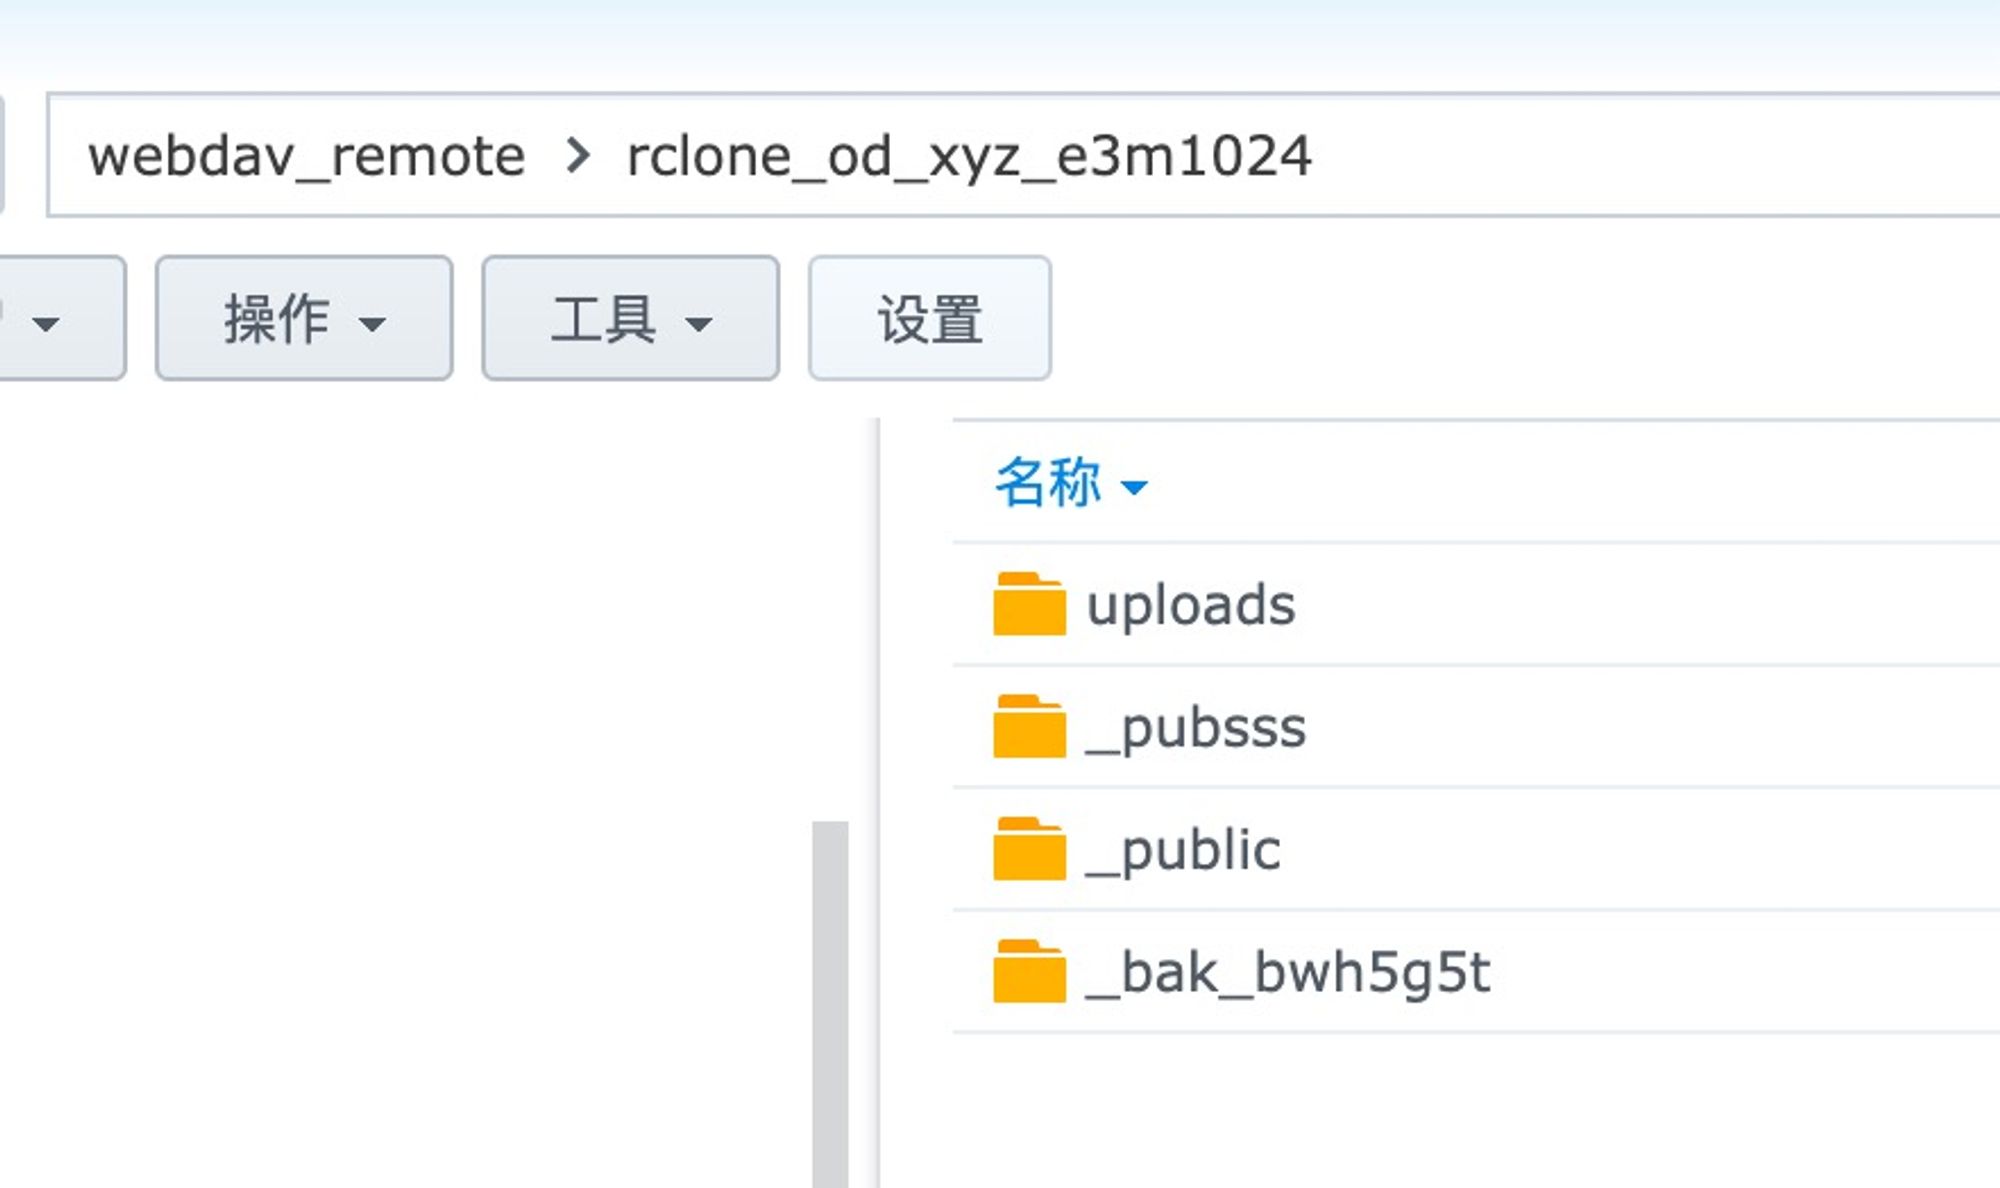
mkdir /volume1/mount/_rclone_od_xyz_e3m1024
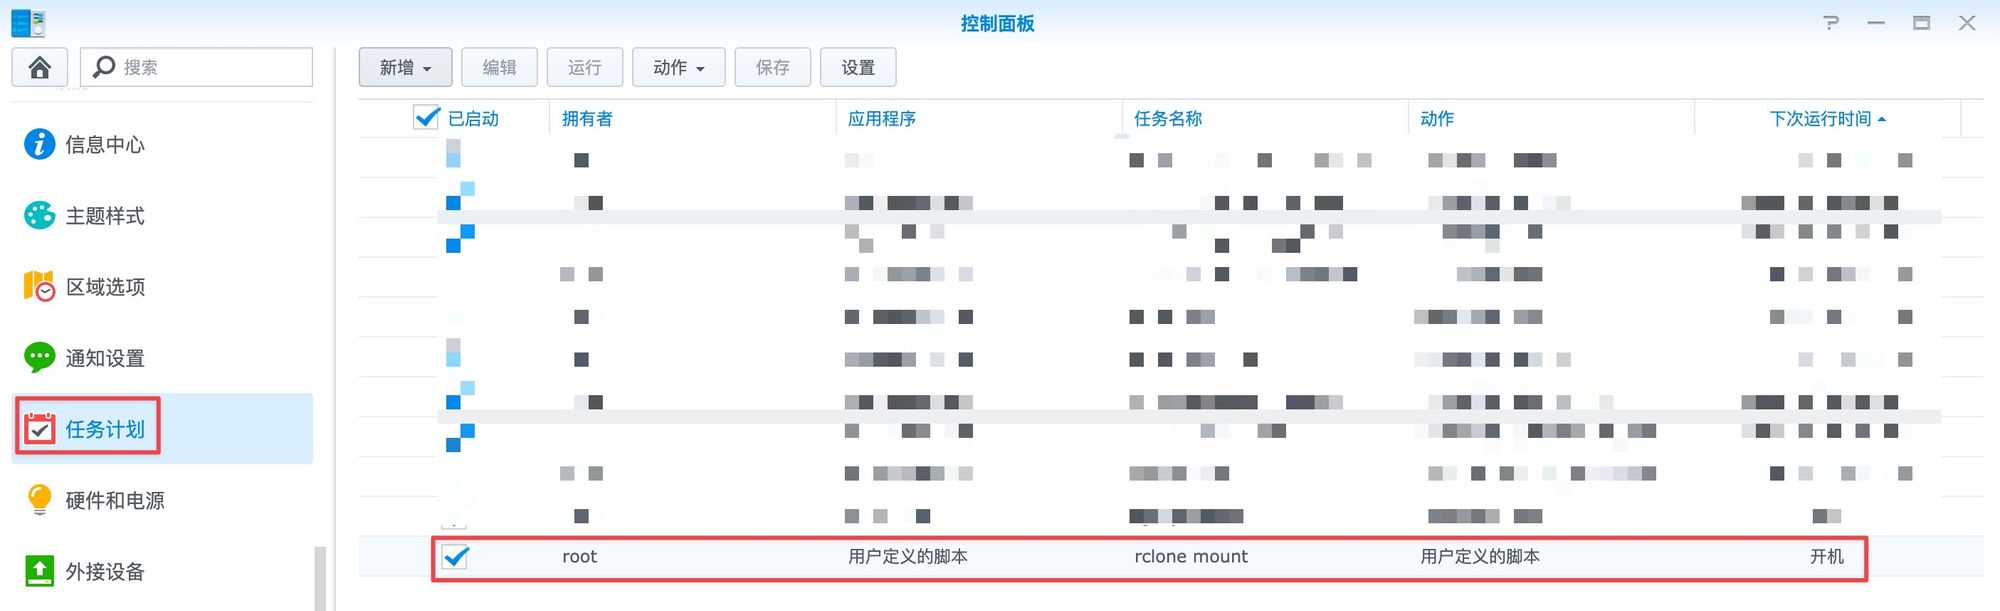
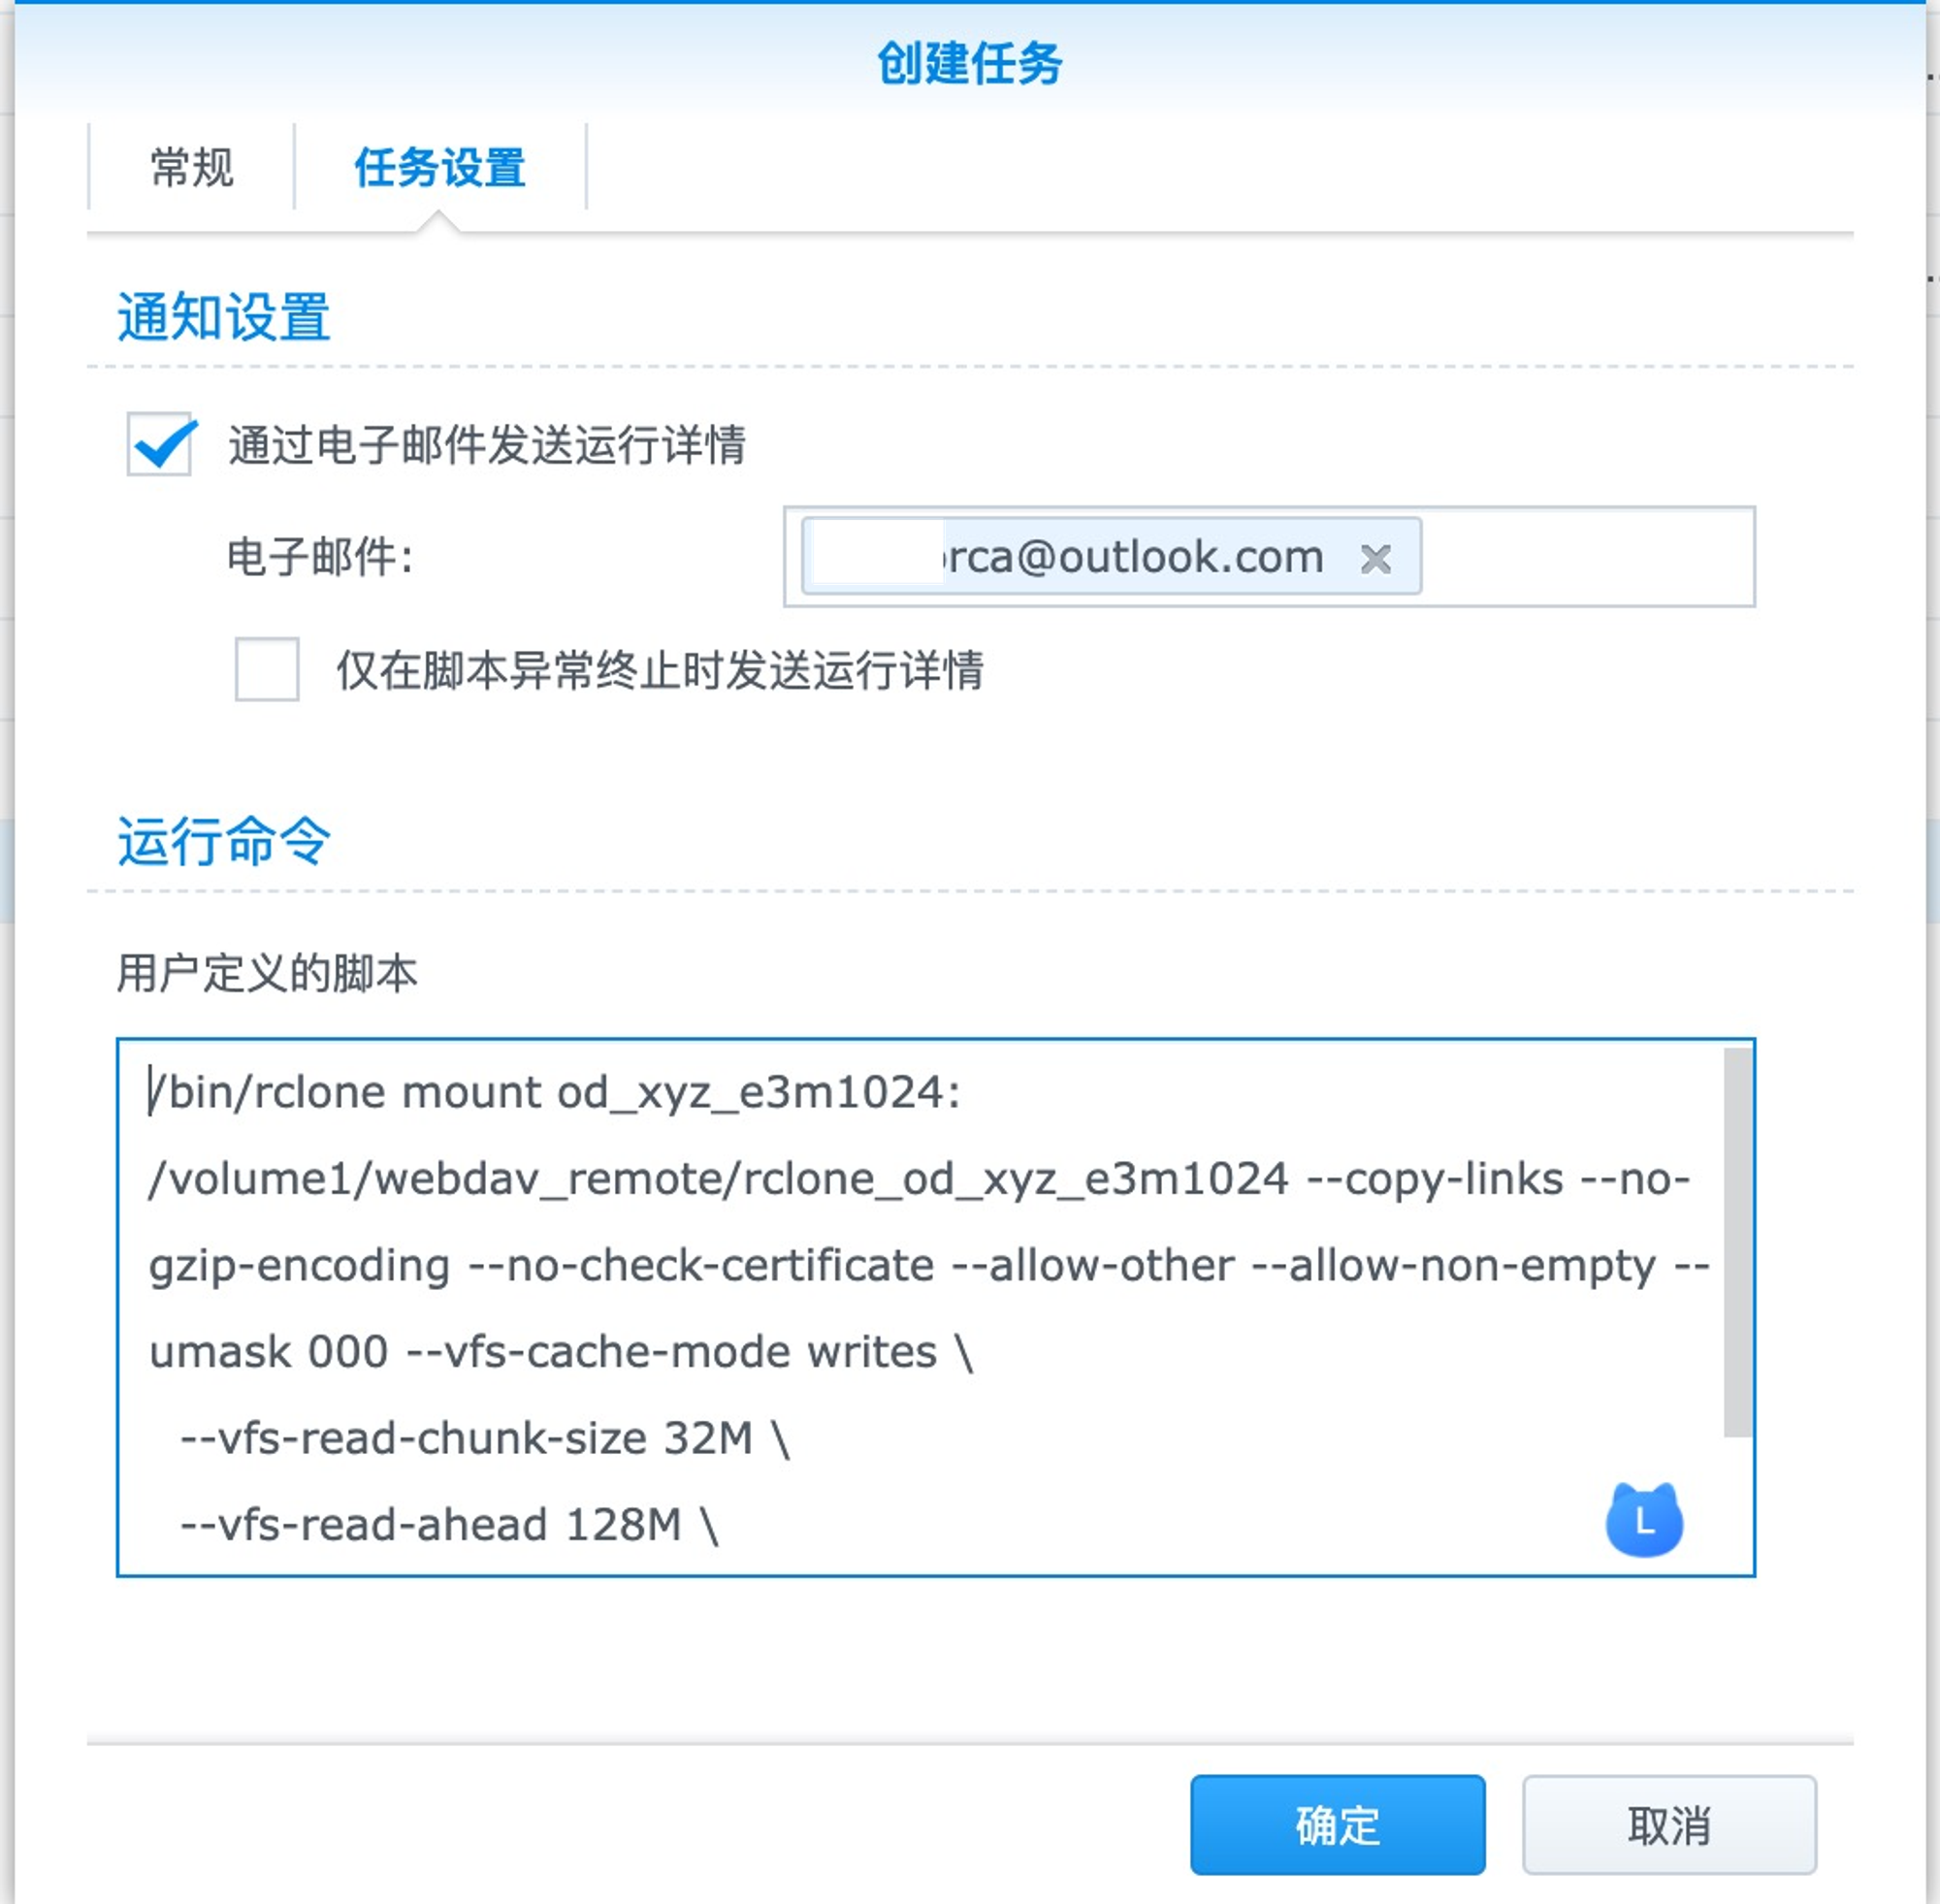
# !!! 正式加载(这行也是放到群晖scheduler当中就行)
echo "### rclone od_xyz_e3m1024"; sleep 60s; \
/bin/rclone mount od_xyz_e3m1024: /volume1/mount/_rclone_od_xyz_e3m1024 --copy-links --no-gzip-encoding --no-check-certificate --allow-other --allow-non-empty --umask 000 --vfs-cache-mode writes \
--vfs-read-chunk-size 32M `# enough to cache `\
--vfs-read-ahead 128M \
--attr-timeout 10m \
--cache-dir /volume1/mount/_rclone_config/db/.cache \
--dir-cache-time 30m \
--daemon-wait 2m --daemon --daemon-timeout 30m \
--log-level=INFO --log-file=/volume1/mount/_rclone_config/rclone_od_xyz_e3m1024.log \
--config='/volume1/mount/_rclone_config/rclone.conf'; echo "rclone od_xyz_e3m1024 done ###"
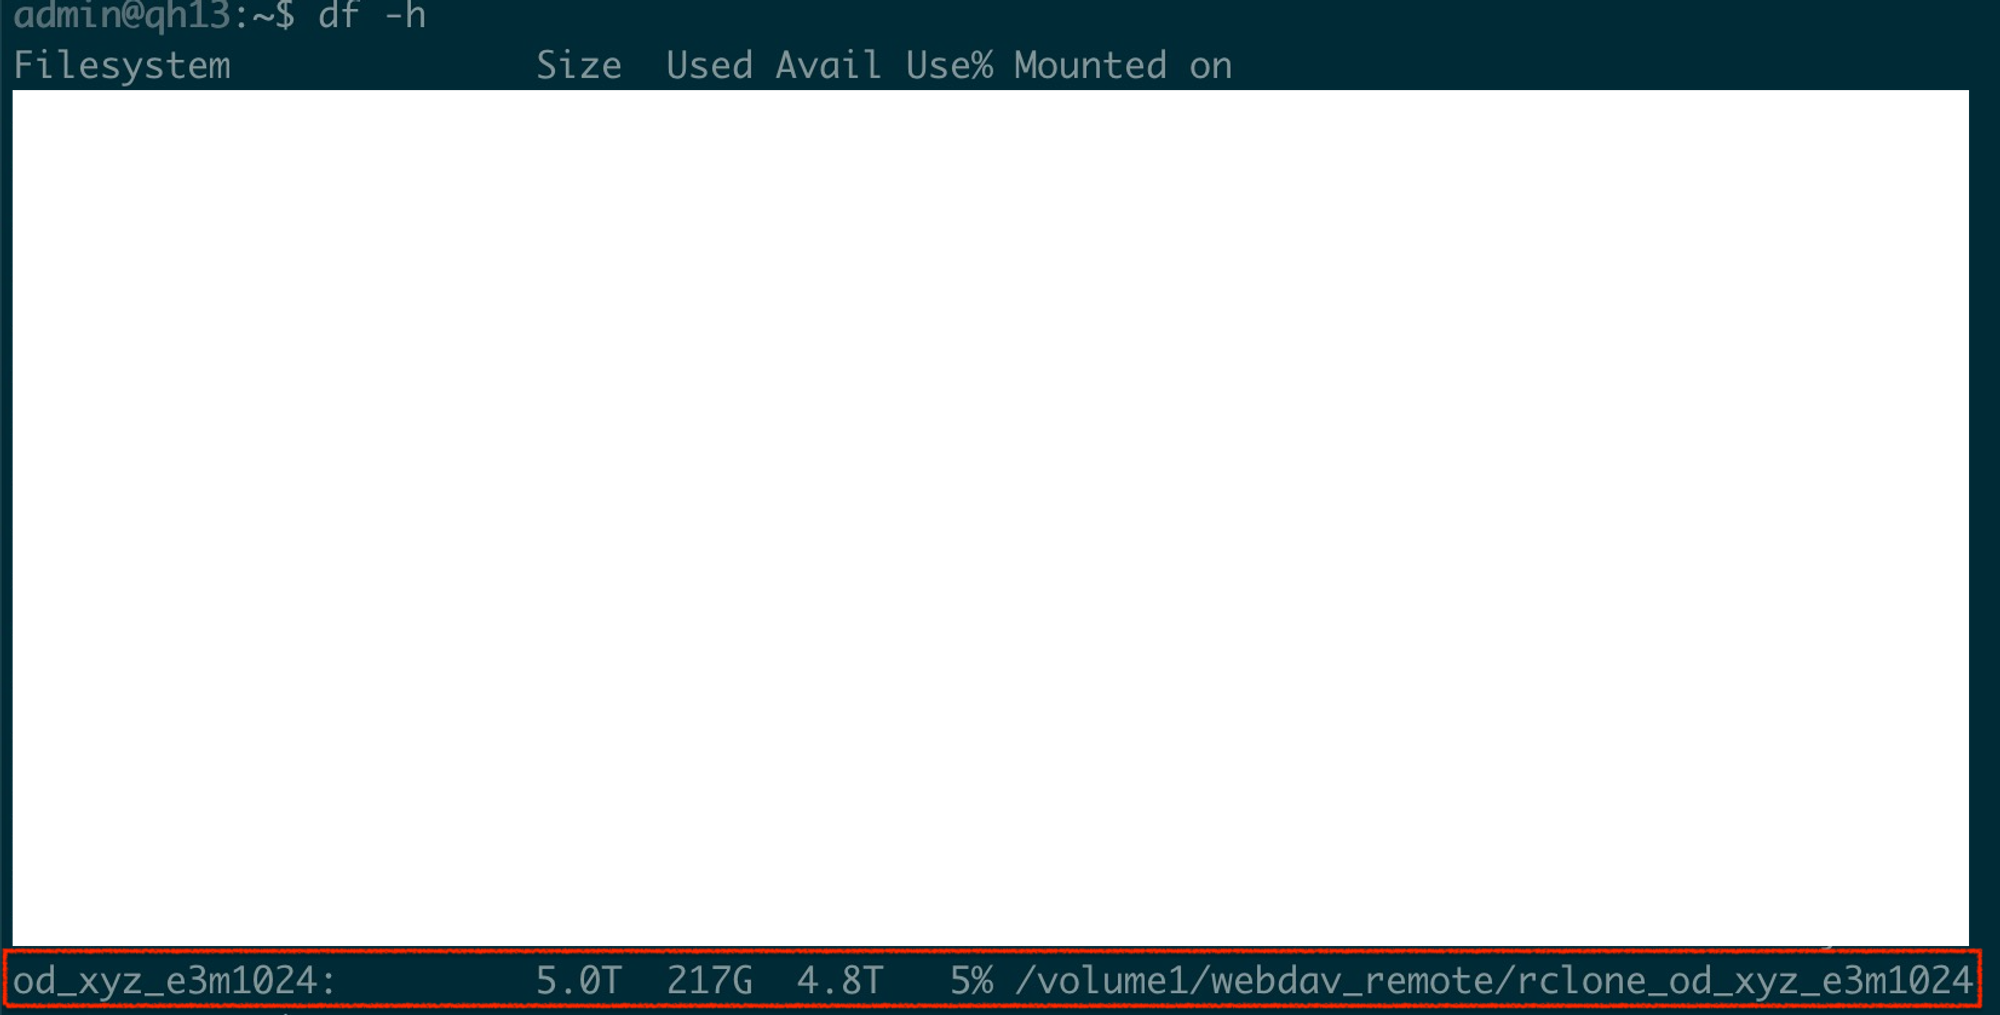
# 验证
df -h
rclone lsd od_xyz_e3m1024: --config='/volume1/mount/_rclone_config/rclone.conf'
# 卸载
fusermount -qzu /volume1/mount/_rclone_od_xyz_e3m1024
# 或者
umount -f /volume1/mount/_rclone_od_xyz_e3m1024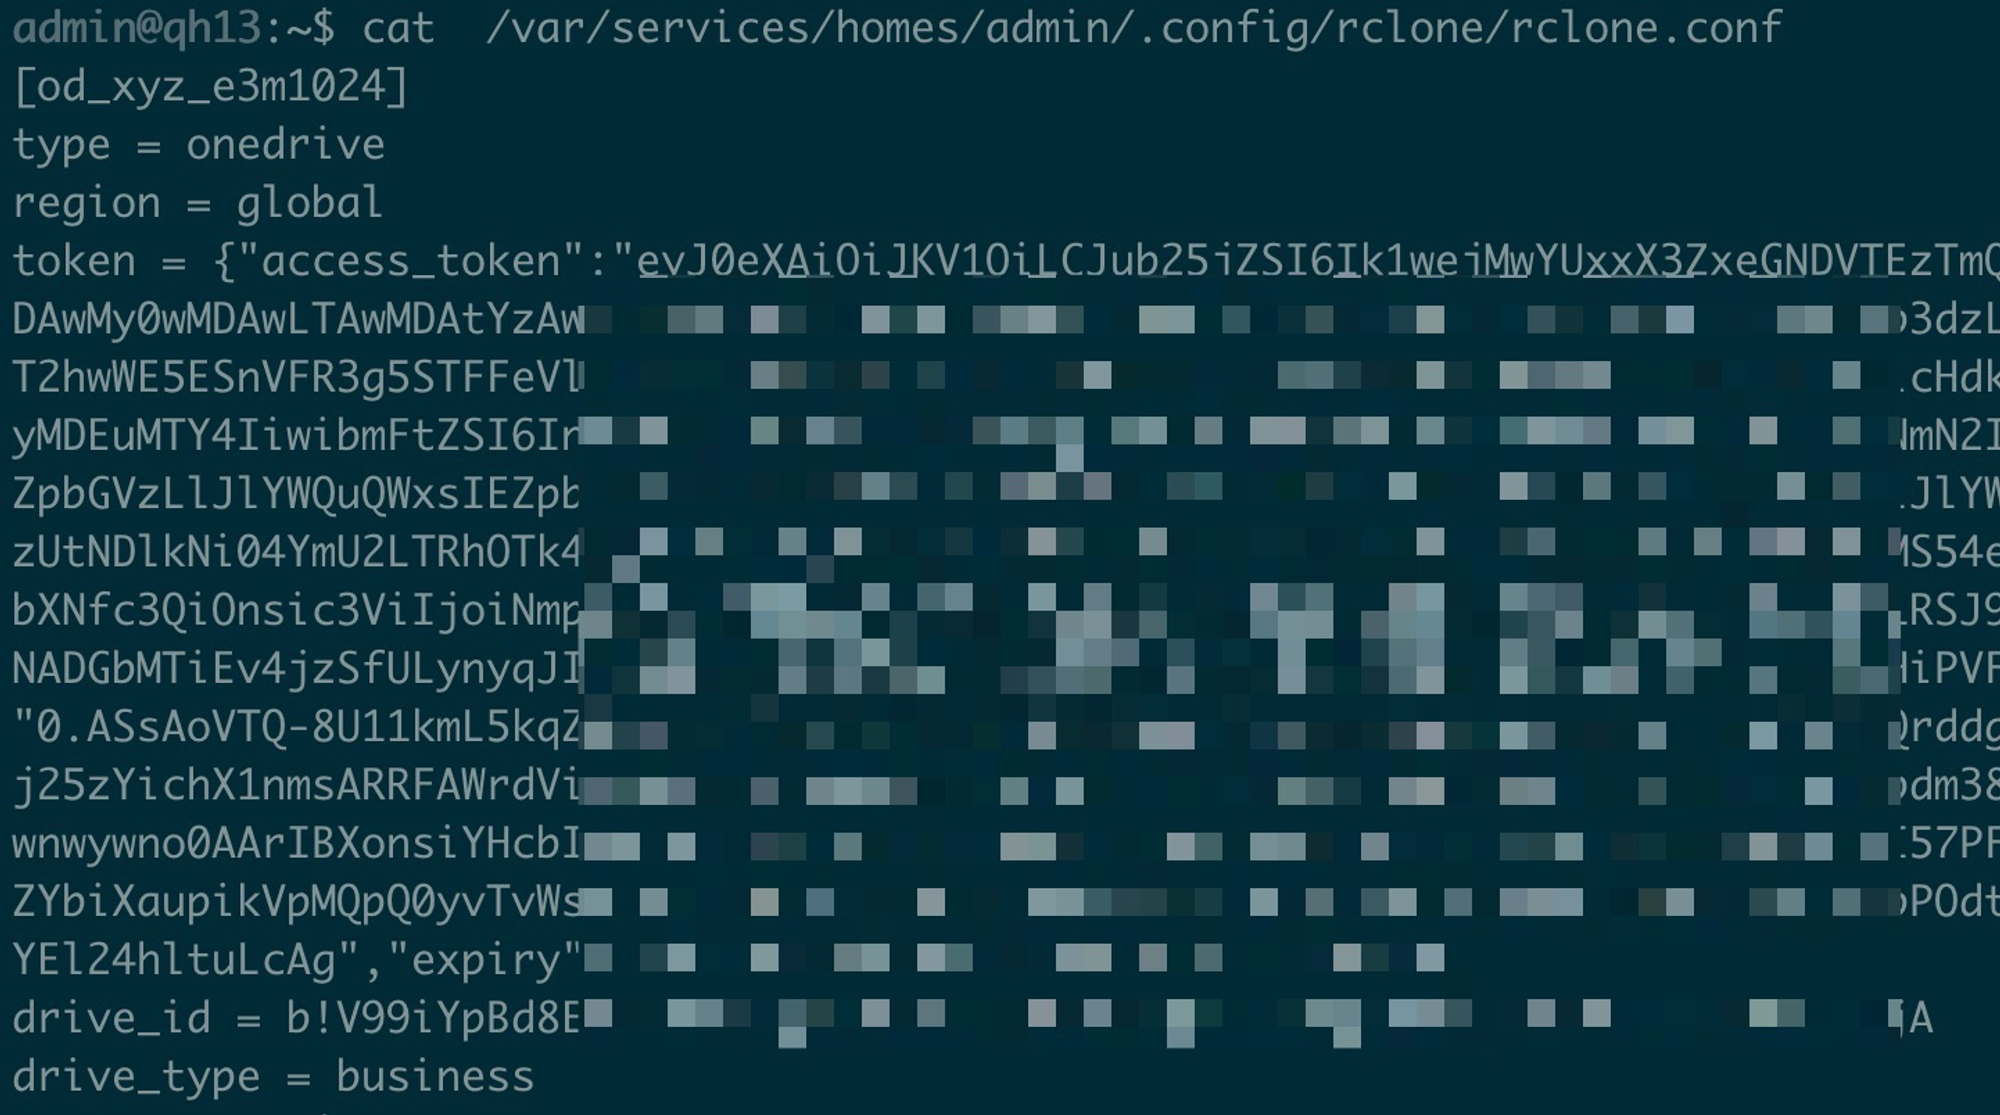
在群晖上面配置开机后之后rclone mount
验证
如果是Google Drive - 假设http proxy开在17890端口
用access_token,那就容易,只要加翻墙设置就行了
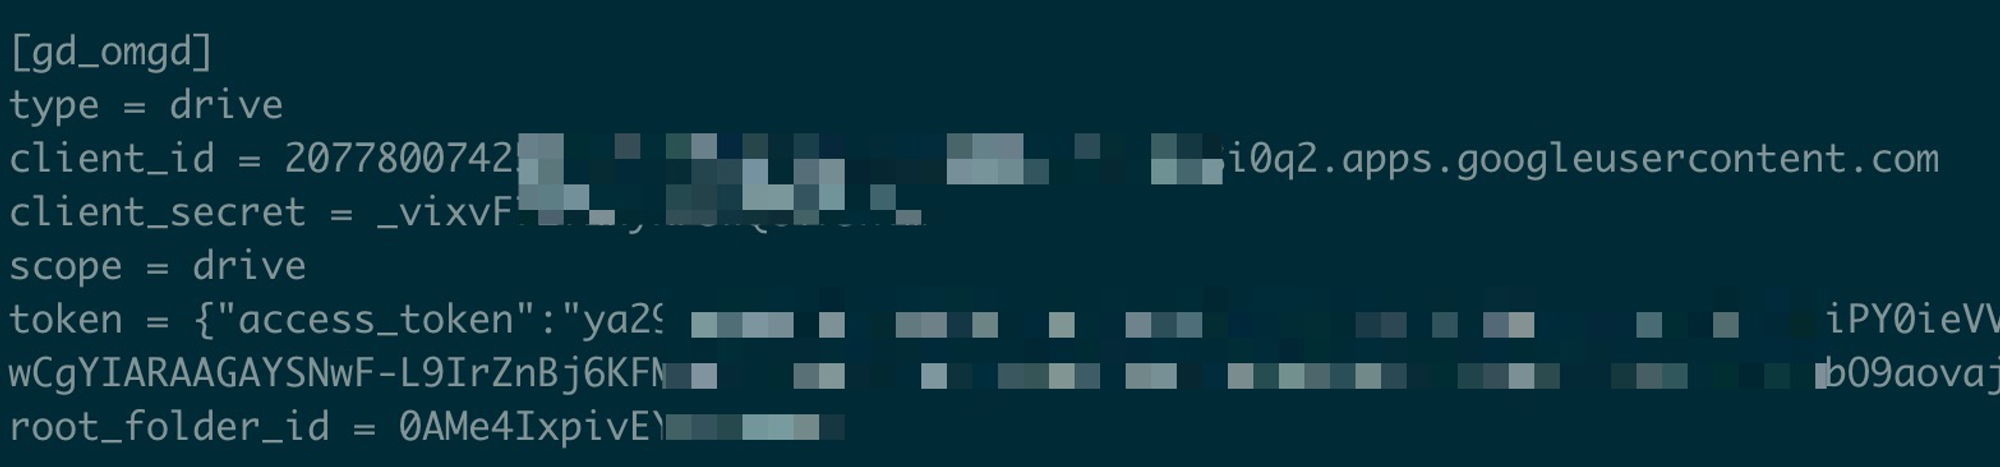
export DRIVENAME="gd_omgd"
mkdir /volume1/mount/_rclone_$DRIVENAME
export CONF_DIR="/volume1/mount/_rclone_config"
mkdir -p $CONF_DIR/db/.cache
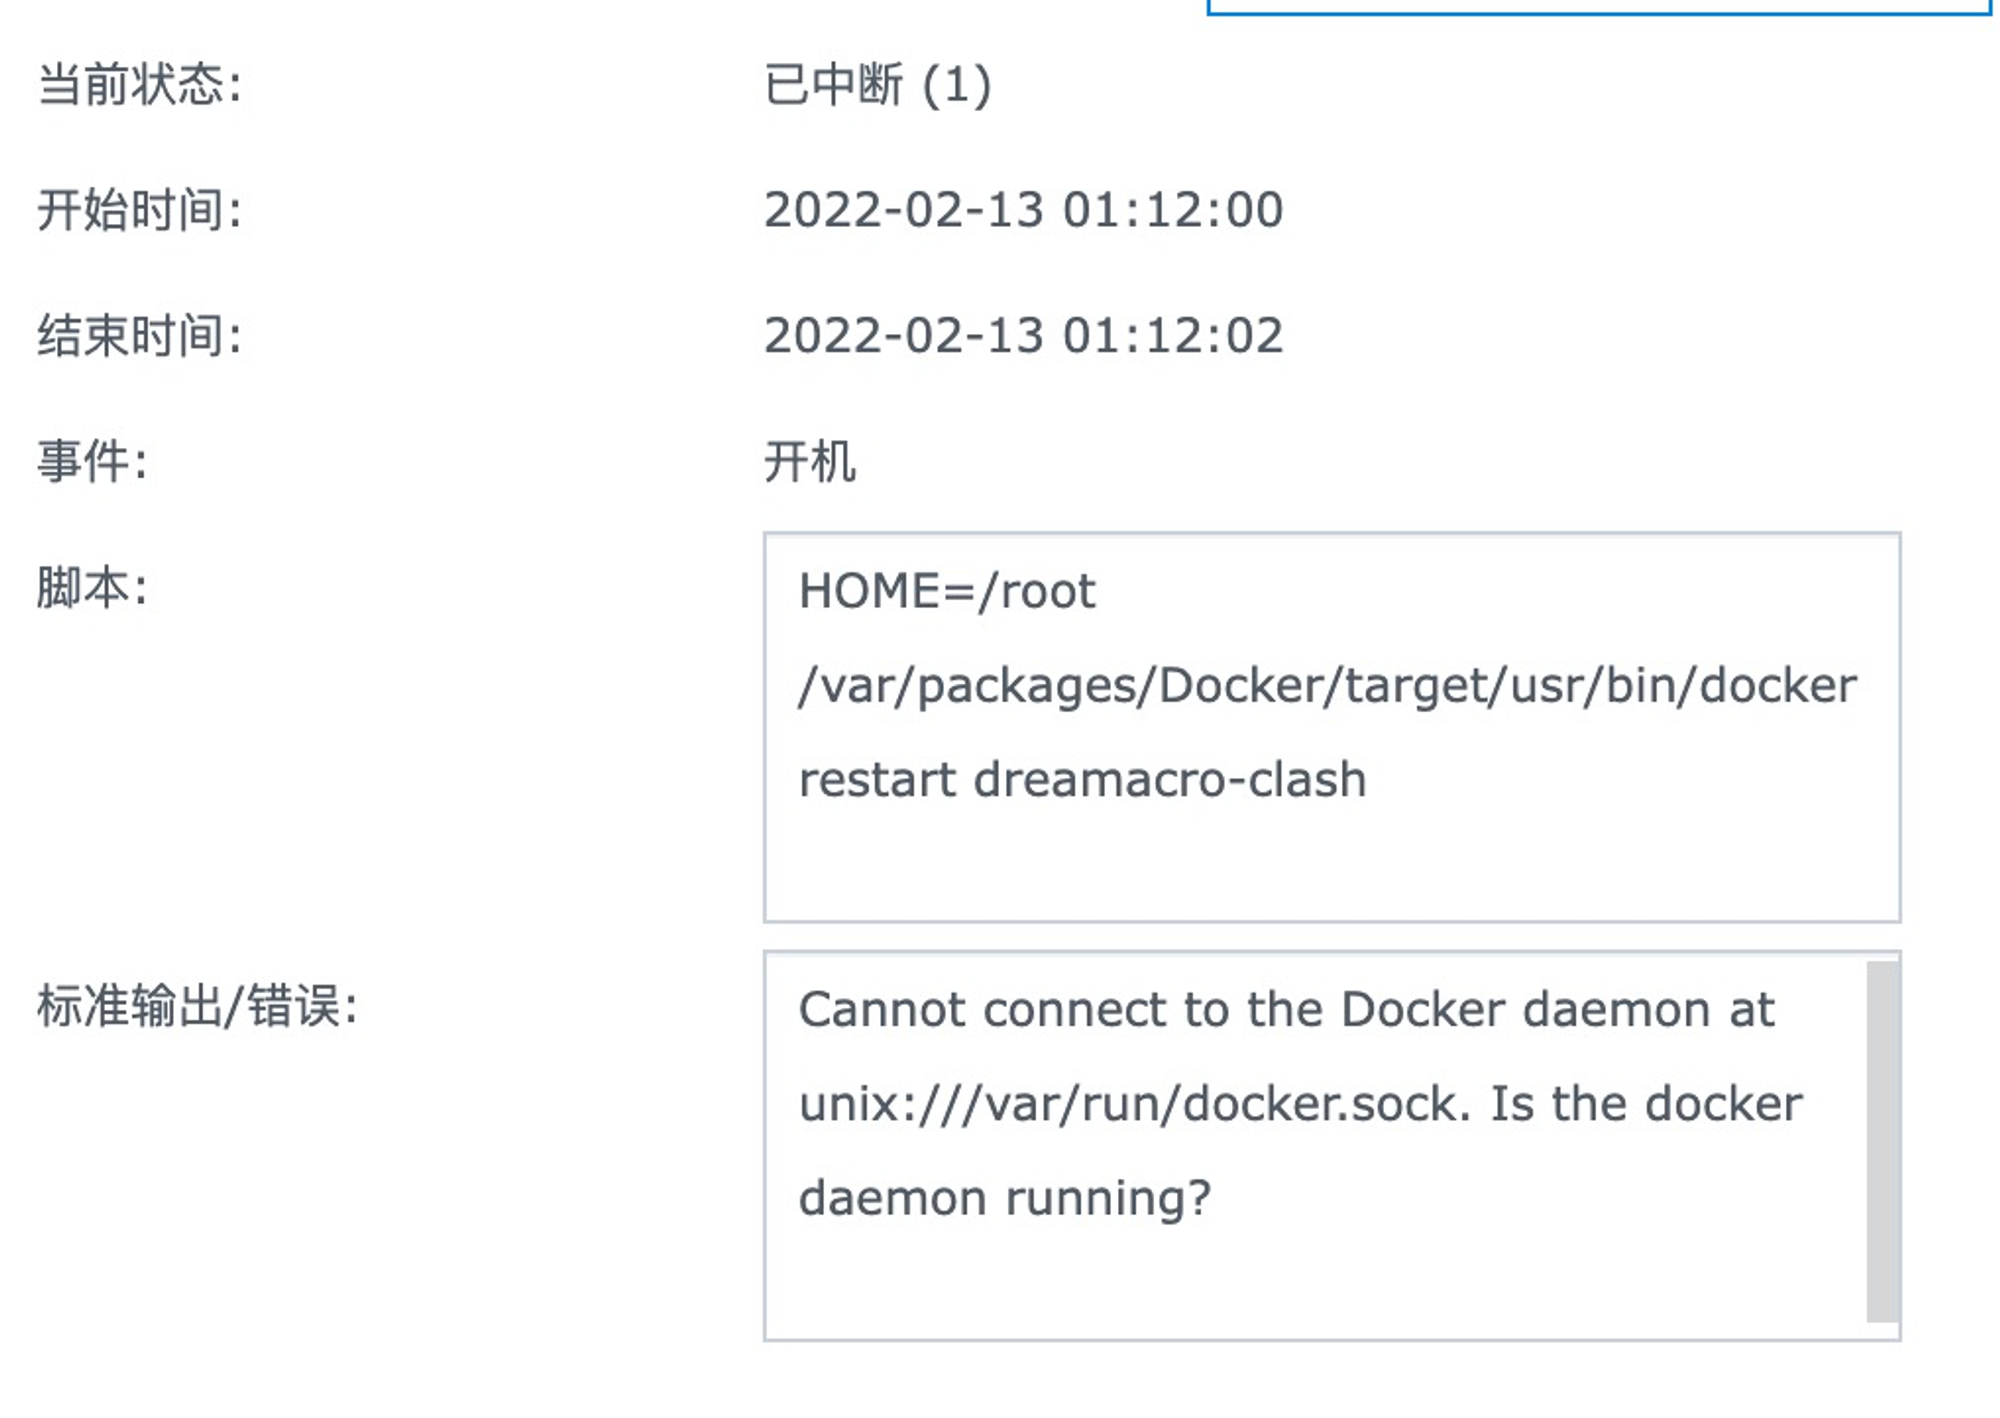
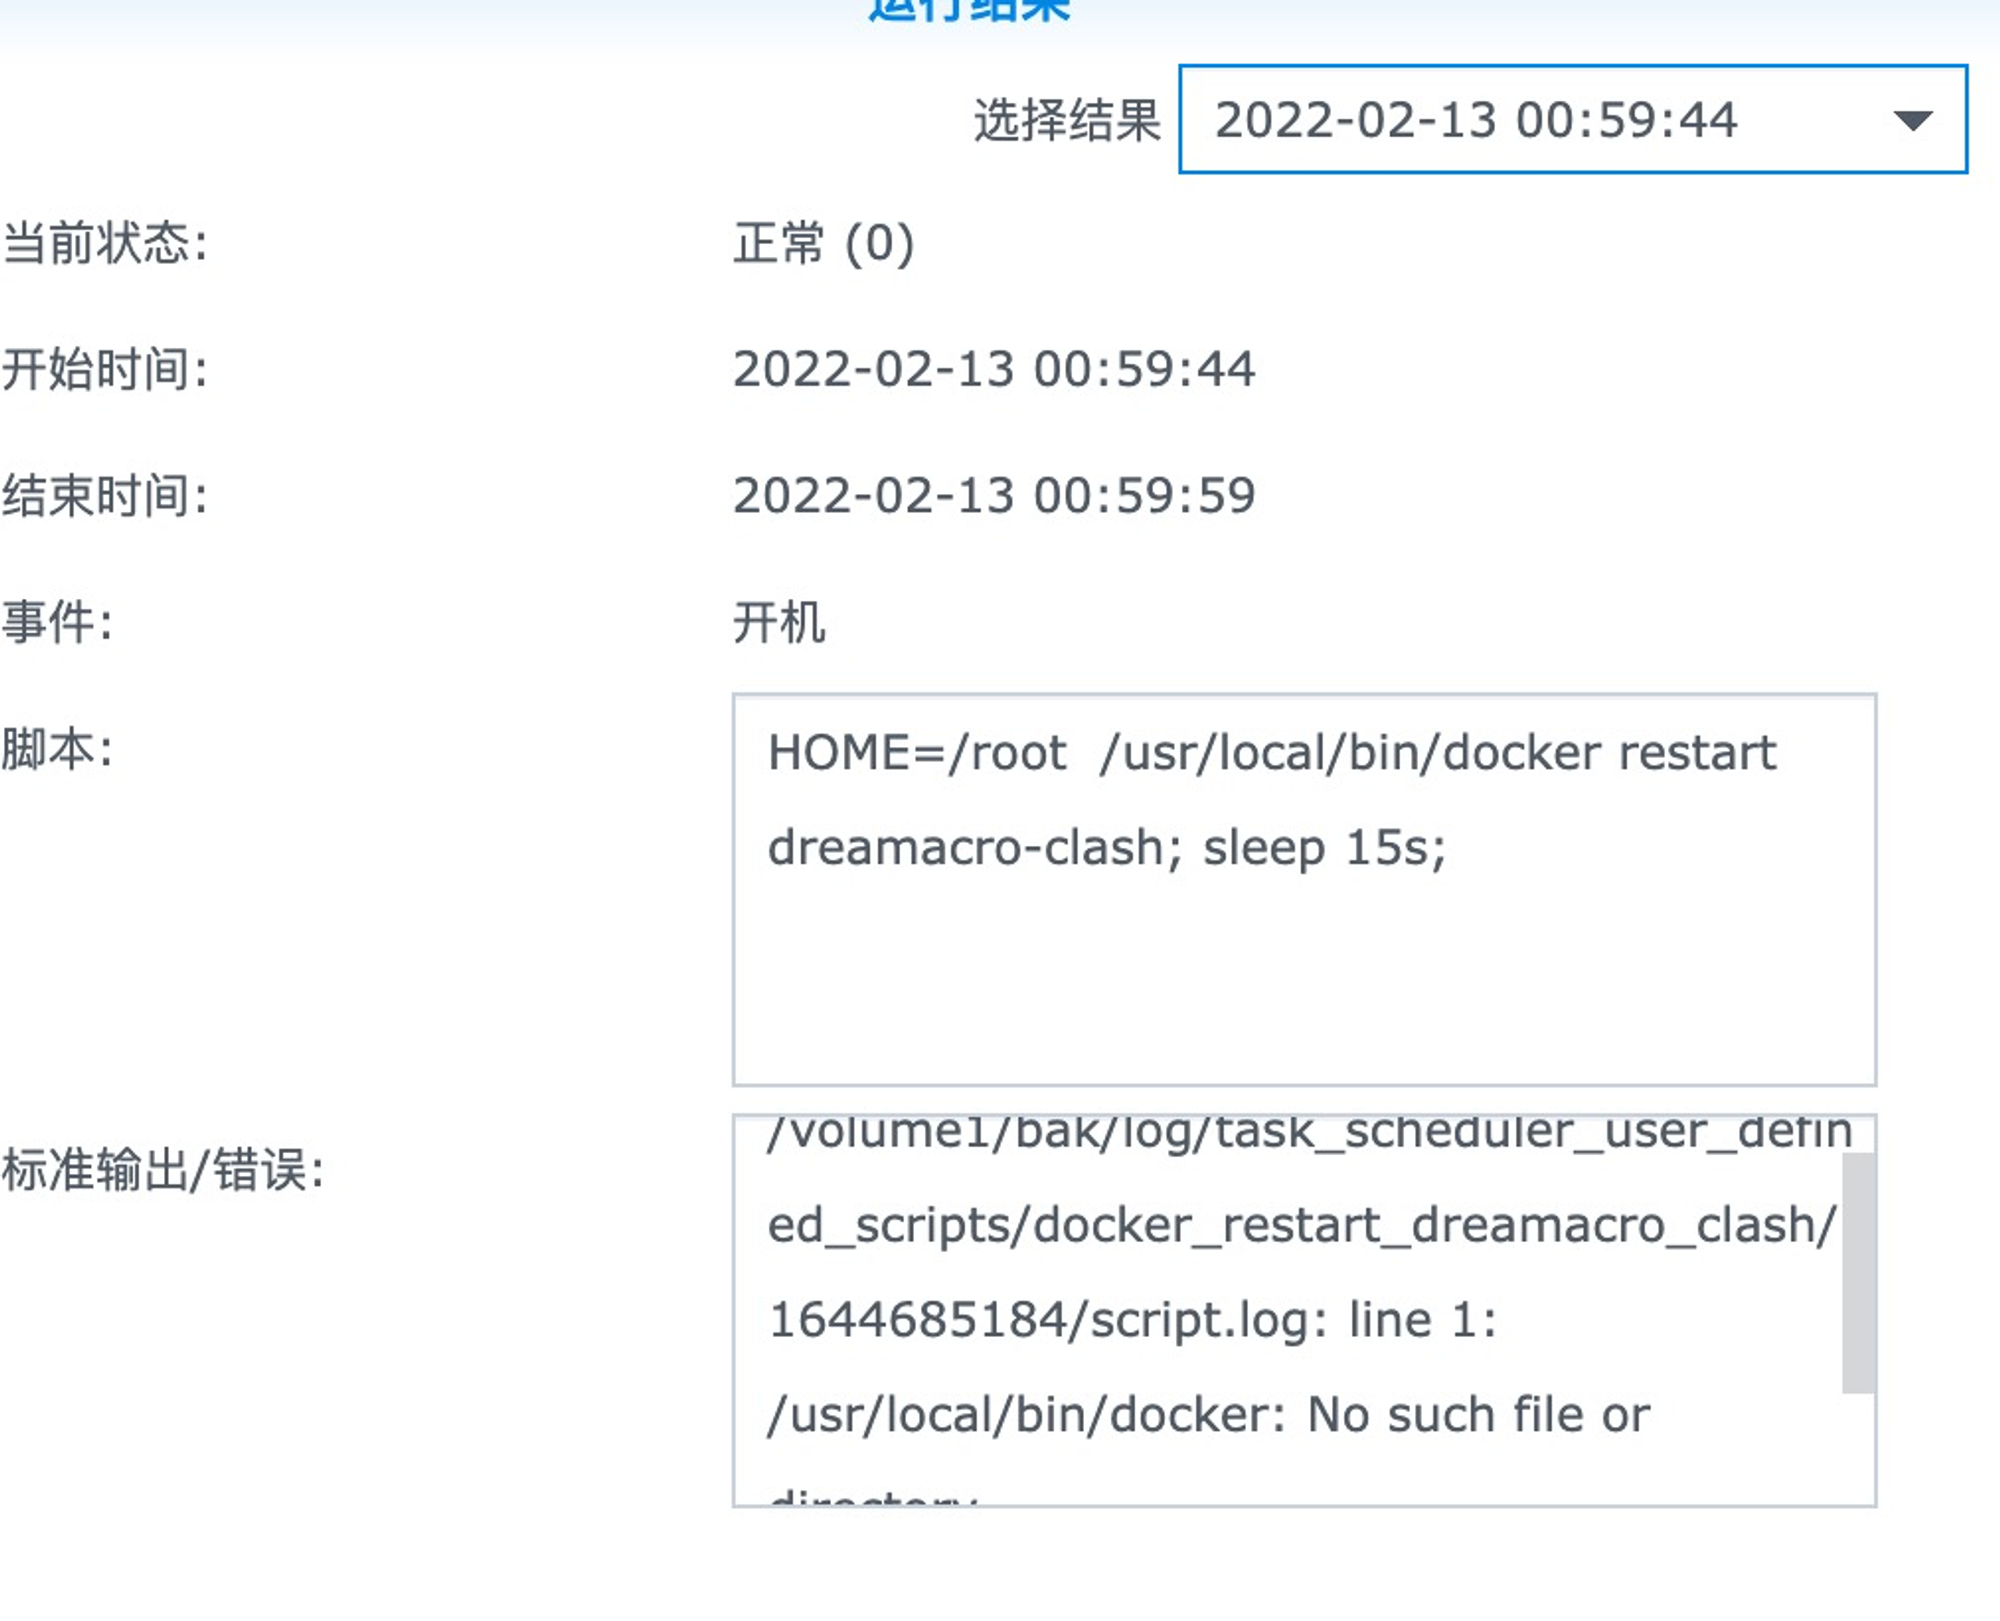
# 在群晖的Scheduler里面设立开机脚本的话,因为考虑此时docker daemon还没有起来(我试了好多次,确定docker起来应该比较后面),前面可以加一个 sleep 60s; 应该可以来确保翻墙的docker已经运行了
echo \
HTTP_PROXY=http://127.0.0.1:18010 \
HTTPS_PROXY=http://127.0.0.1:18010 \
/bin/rclone mount $DRIVENAME: /volume1/mount/_rclone_$DRIVENAME --copy-links --no-gzip-encoding --no-check-certificate --allow-other --allow-non-empty --umask 000 --vfs-cache-mode writes \
--vfs-read-chunk-size 32M `# enough to cache`\
--vfs-read-ahead 128M \
--attr-timeout 10m \
--cache-dir $CONF_DIR/db/.cache \
--dir-cache-time 30m \
--daemon --daemon-timeout 30m \
--log-level=INFO --log-file=$CONF_DIR/rclone_$DRIVENAME.log \
--config="$CONF_DIR/rclone.conf";
echo "### rclone $DRIVENAME begin"; \
sleep 60s; \
HTTP_PROXY=http://127.0.0.1:18010 HTTPS_PROXY=http://127.0.0.1:18010 /bin/rclone mount gd_omgd: /volume1/mount/_rclone_gd_omgd --copy-links --no-gzip-encoding --no-check-certificate --allow-other --allow-non-empty --umask 000 --vfs-cache-mode writes --vfs-read-chunk-size 32M --vfs-read-ahead 128M --attr-timeout 10m --cache-dir /volume1/all/rclone/db/.cache --dir-cache-time 30m --daemon --daemon-timeout 30m --log-level=INFO --log-file=/volume1/all/rclone/rclone_gd_omgd.log --config=/volume1/all/rclone/rclone.conf \
echo "rclone $DRIVENAME done ###"

如果是用AutoRclone json 身份文件,用tar先把目录复制过来,再改配置
tar -cvzf 20220212_bak_AutoRclone.tar.gz /root/AutoRclone # use your own    AutoRclone directory

# cp or scp over the file

cp 20220212_bak_AutoRclone.tar.gz /drive/qhwebdav_remote/webdav_remote/

tar -xvzf ~/qh/webdav_remote/20220212_bak_AutoRclone.tar.gz -C ~/qh/all/rclone/

# 这样就实现了从
# Origin_Host:/root/AutoRclone
# ->
# Dest_Host: ~/qh/all/rclone/AutoRclone
# 的完整迁移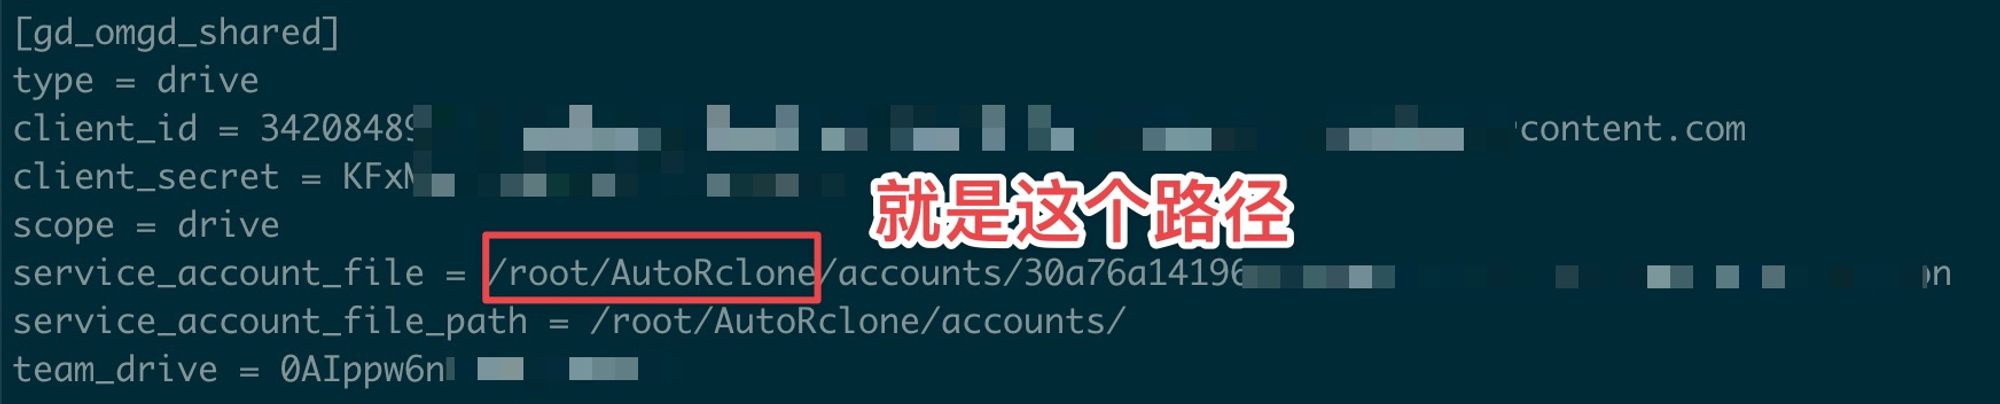


参考 - https://i4t.com/5290.html
